Visit this page often to find information on current projects and upcoming events for Art 8.
In Art 8 we will be exploring multiple art materials including; markers, tempera paint with India Ink, gel markers and pens, chalk pastels and paper pulp.
Art History Research and
Enhanced Reproduction
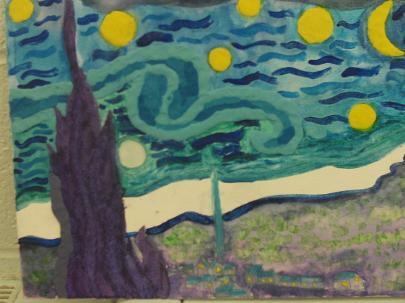
Students have been learning how to fully evaluate a piece of artwork to understand an artists intent and creation process. This then allowed them to create a plan on how they should recreate a piece of artwork that they selected. The projects are being created through a multi-media process that includes watercolor, tempera paint and modeling clay.
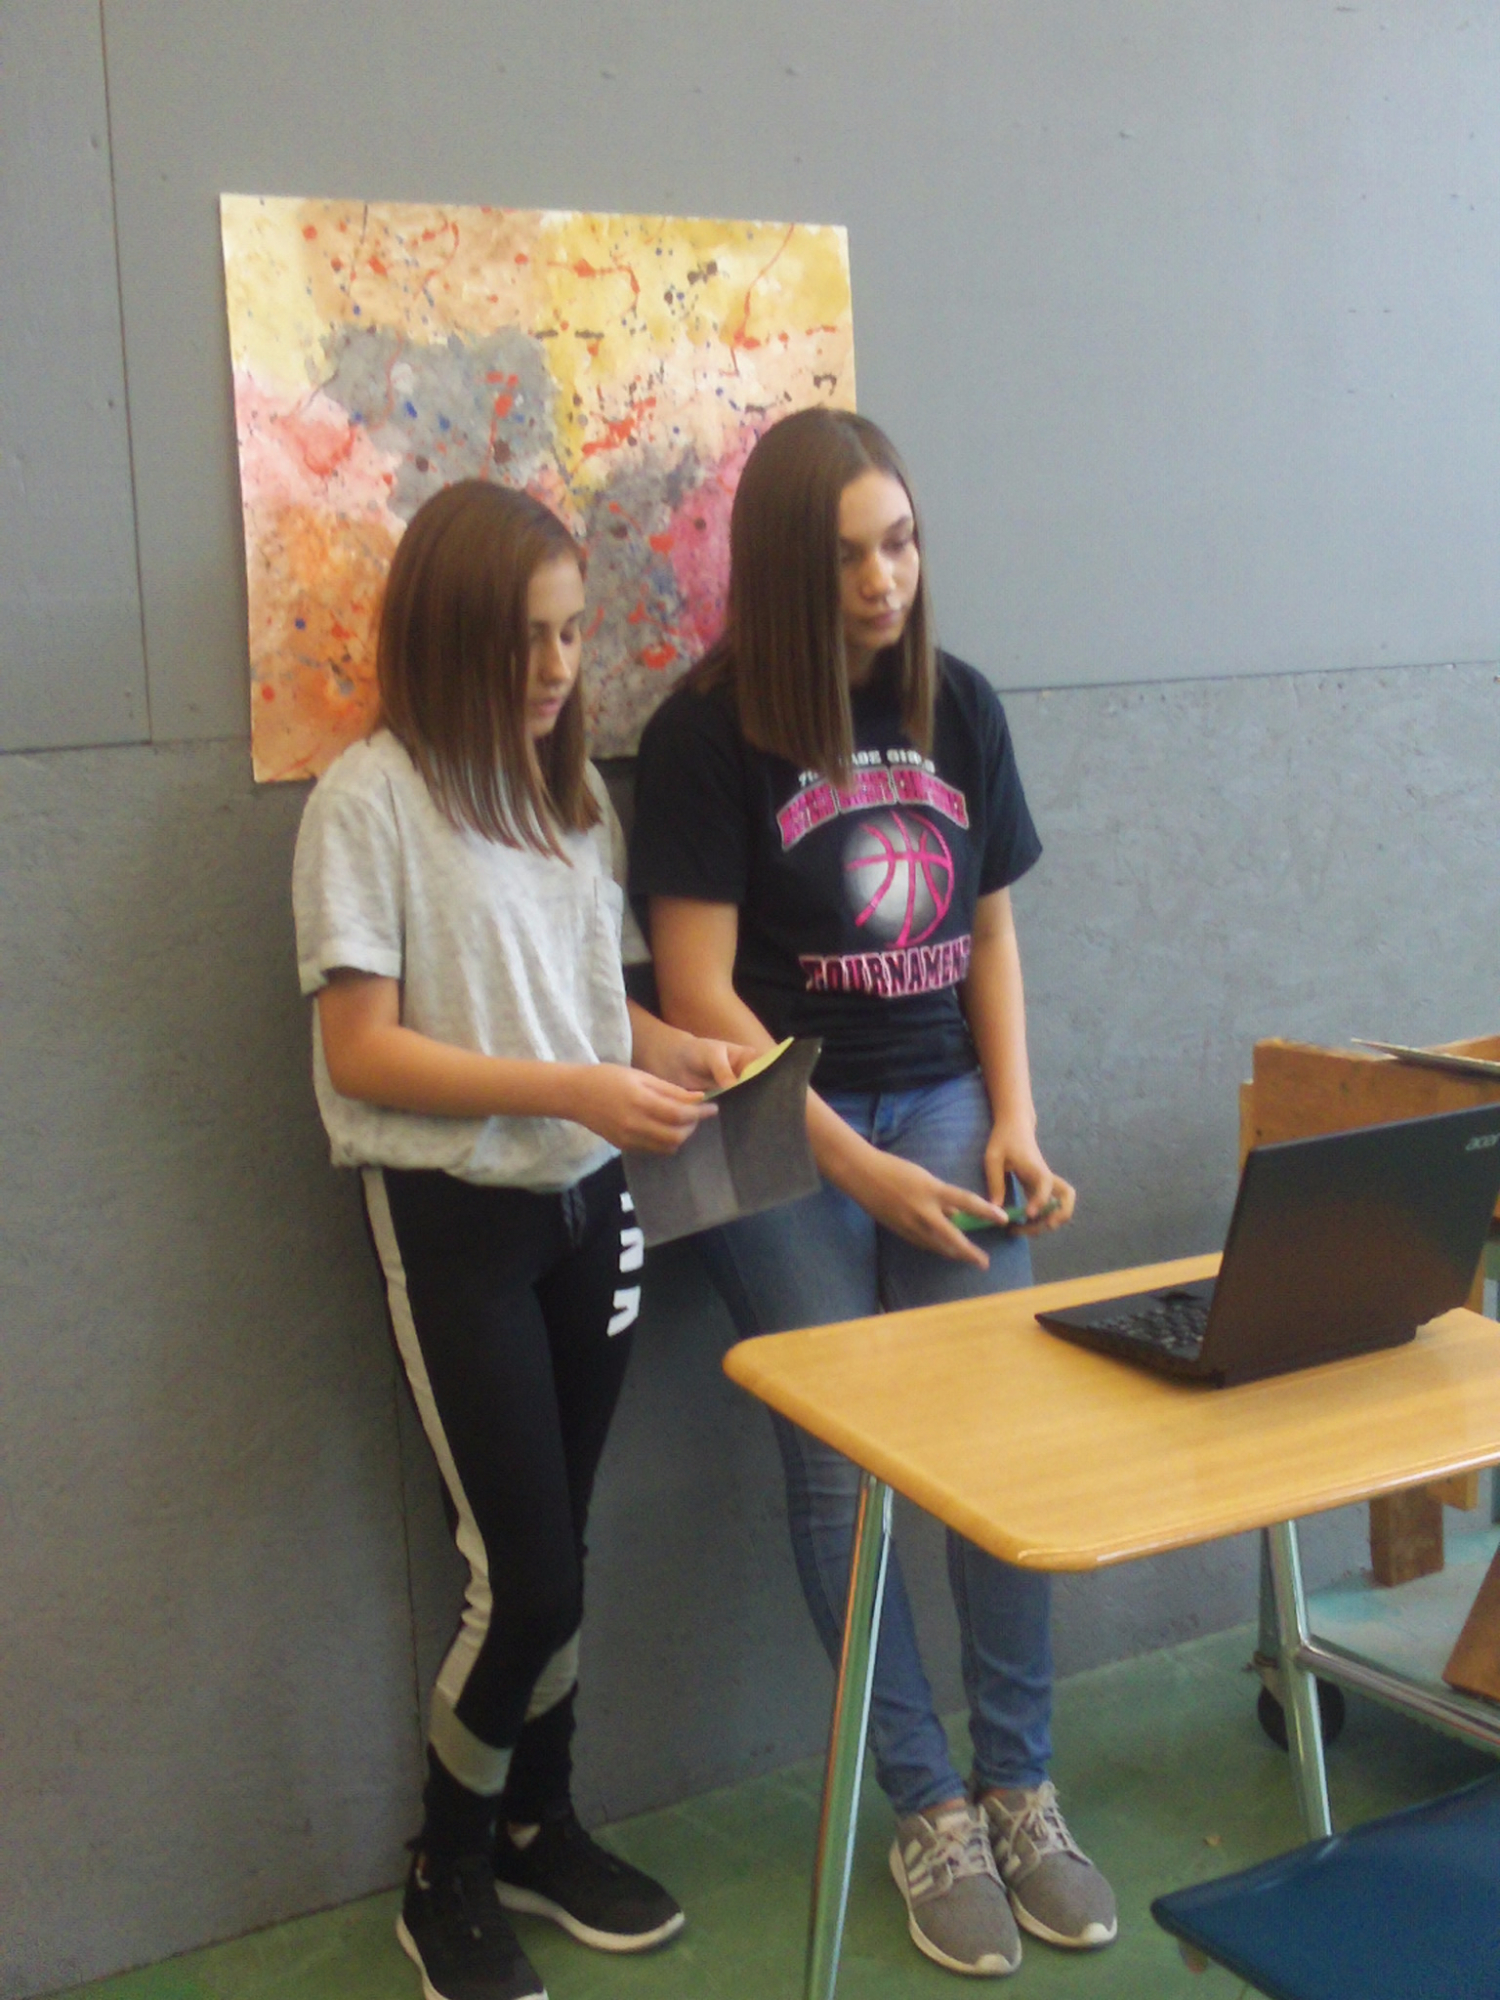
The last portion of the project will be for students to create a video presentation that discusses the artist that they researched, the artwork that they selected, the process they took to create the artwork and their final evaluation of their creation.
To the right you will find an example video presentation created by Mrs. Royko. The video will discuss what should be included and show you an example of how to talk through your learnings and process. The worksheet that shows all requirements can be found below. Have fun and be creative! You are to become the teachers for the class.

|
Art History Painting Reproduce.pdf Size : 377.182 Kb Type : pdf |
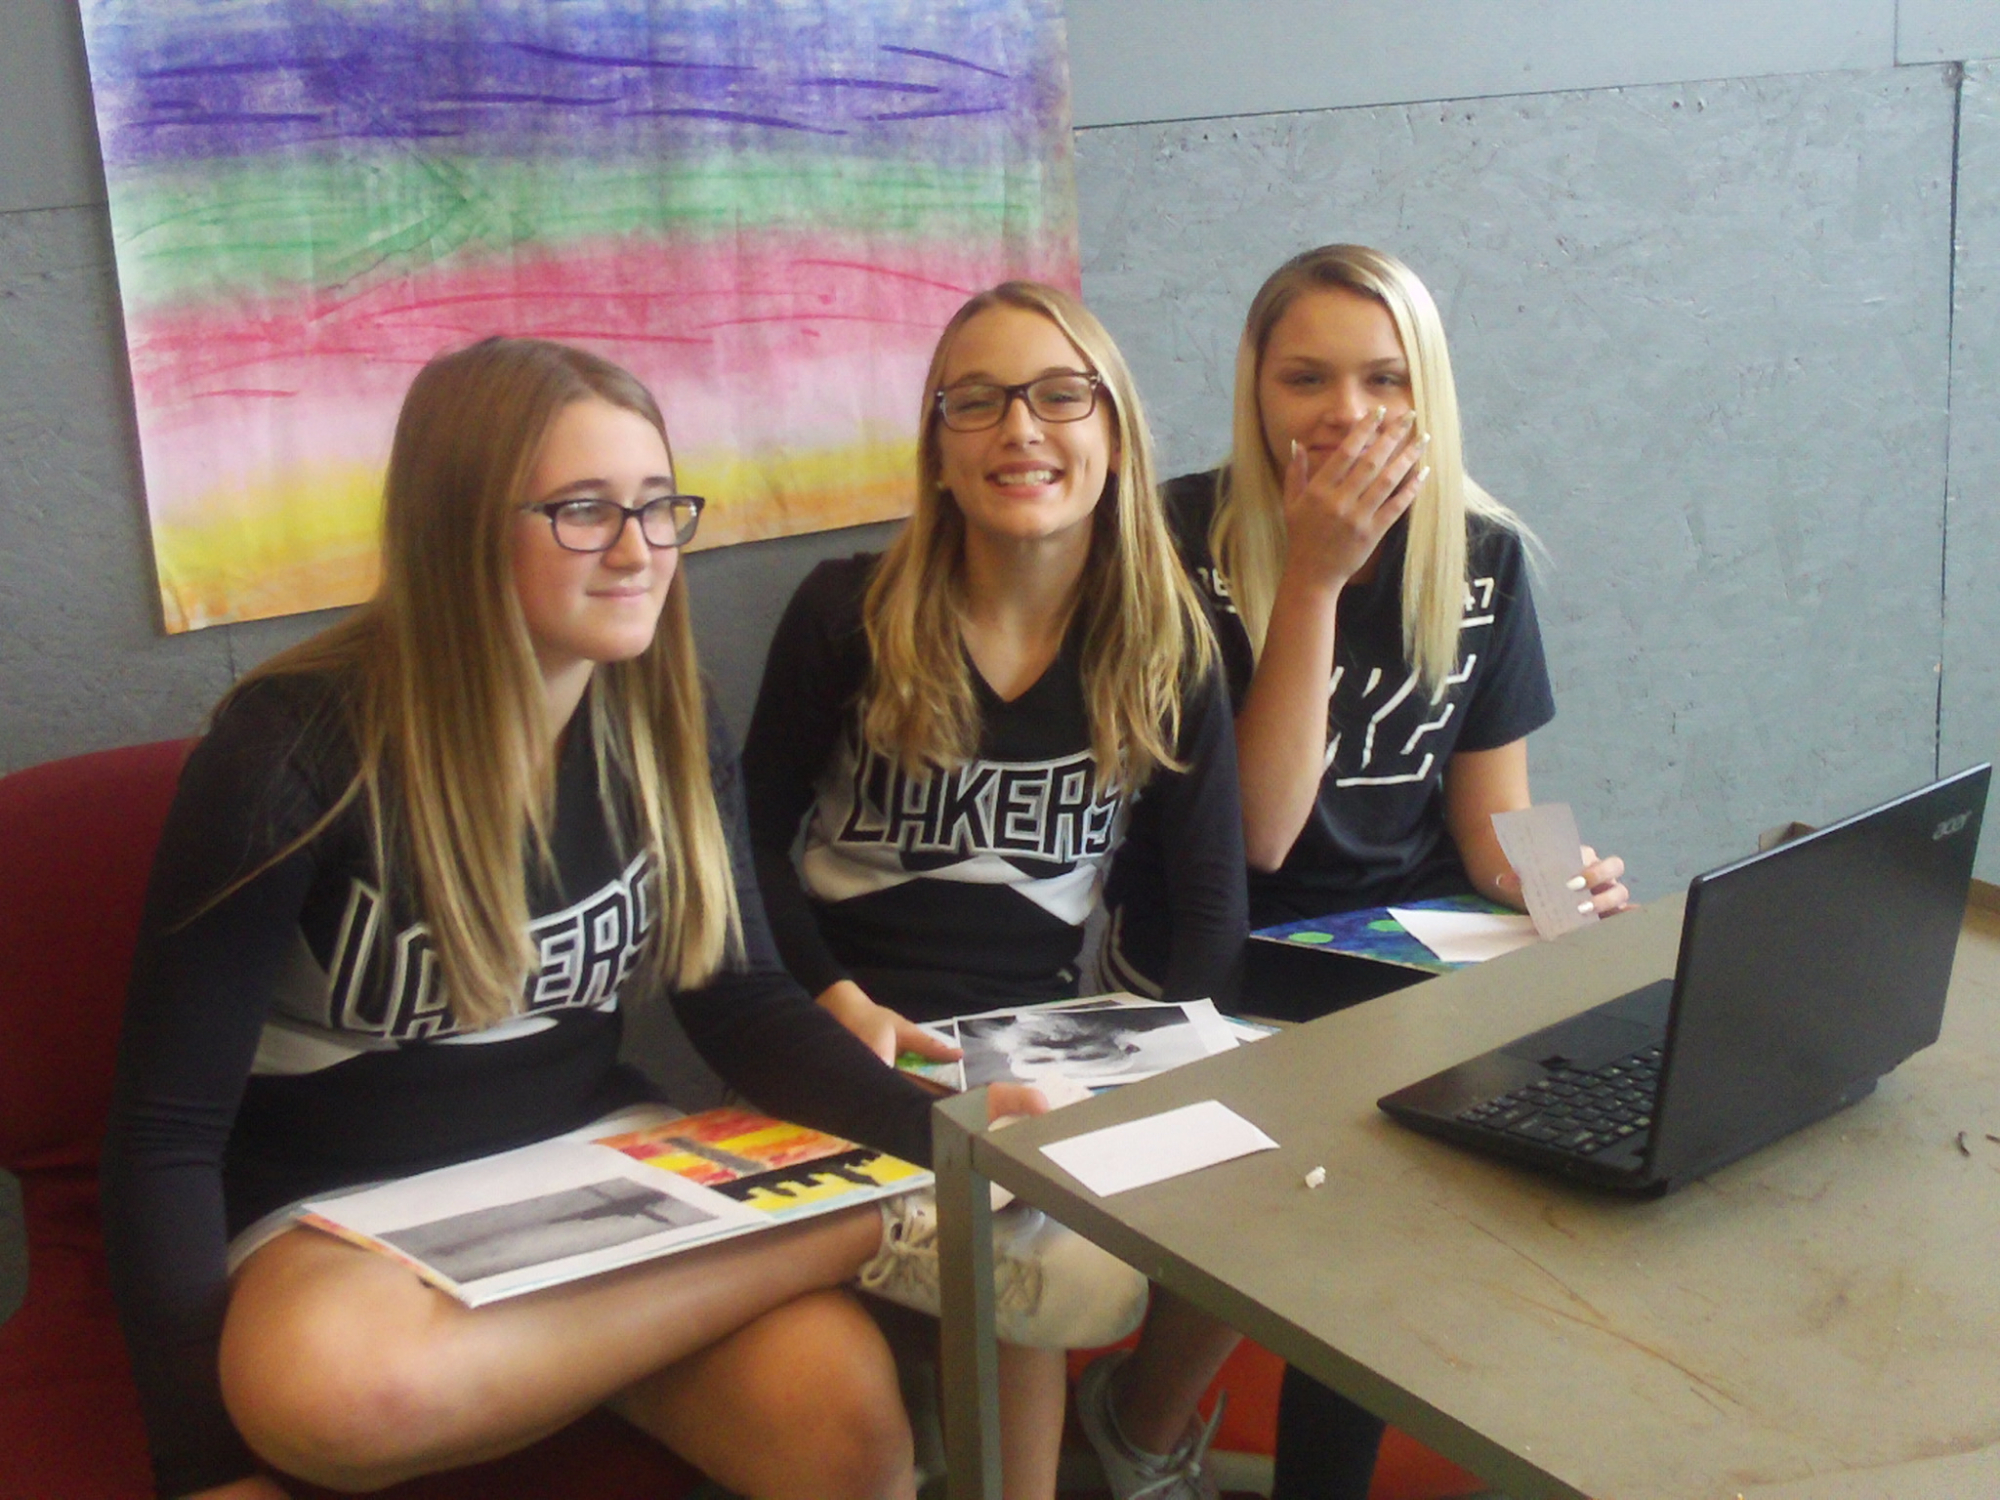
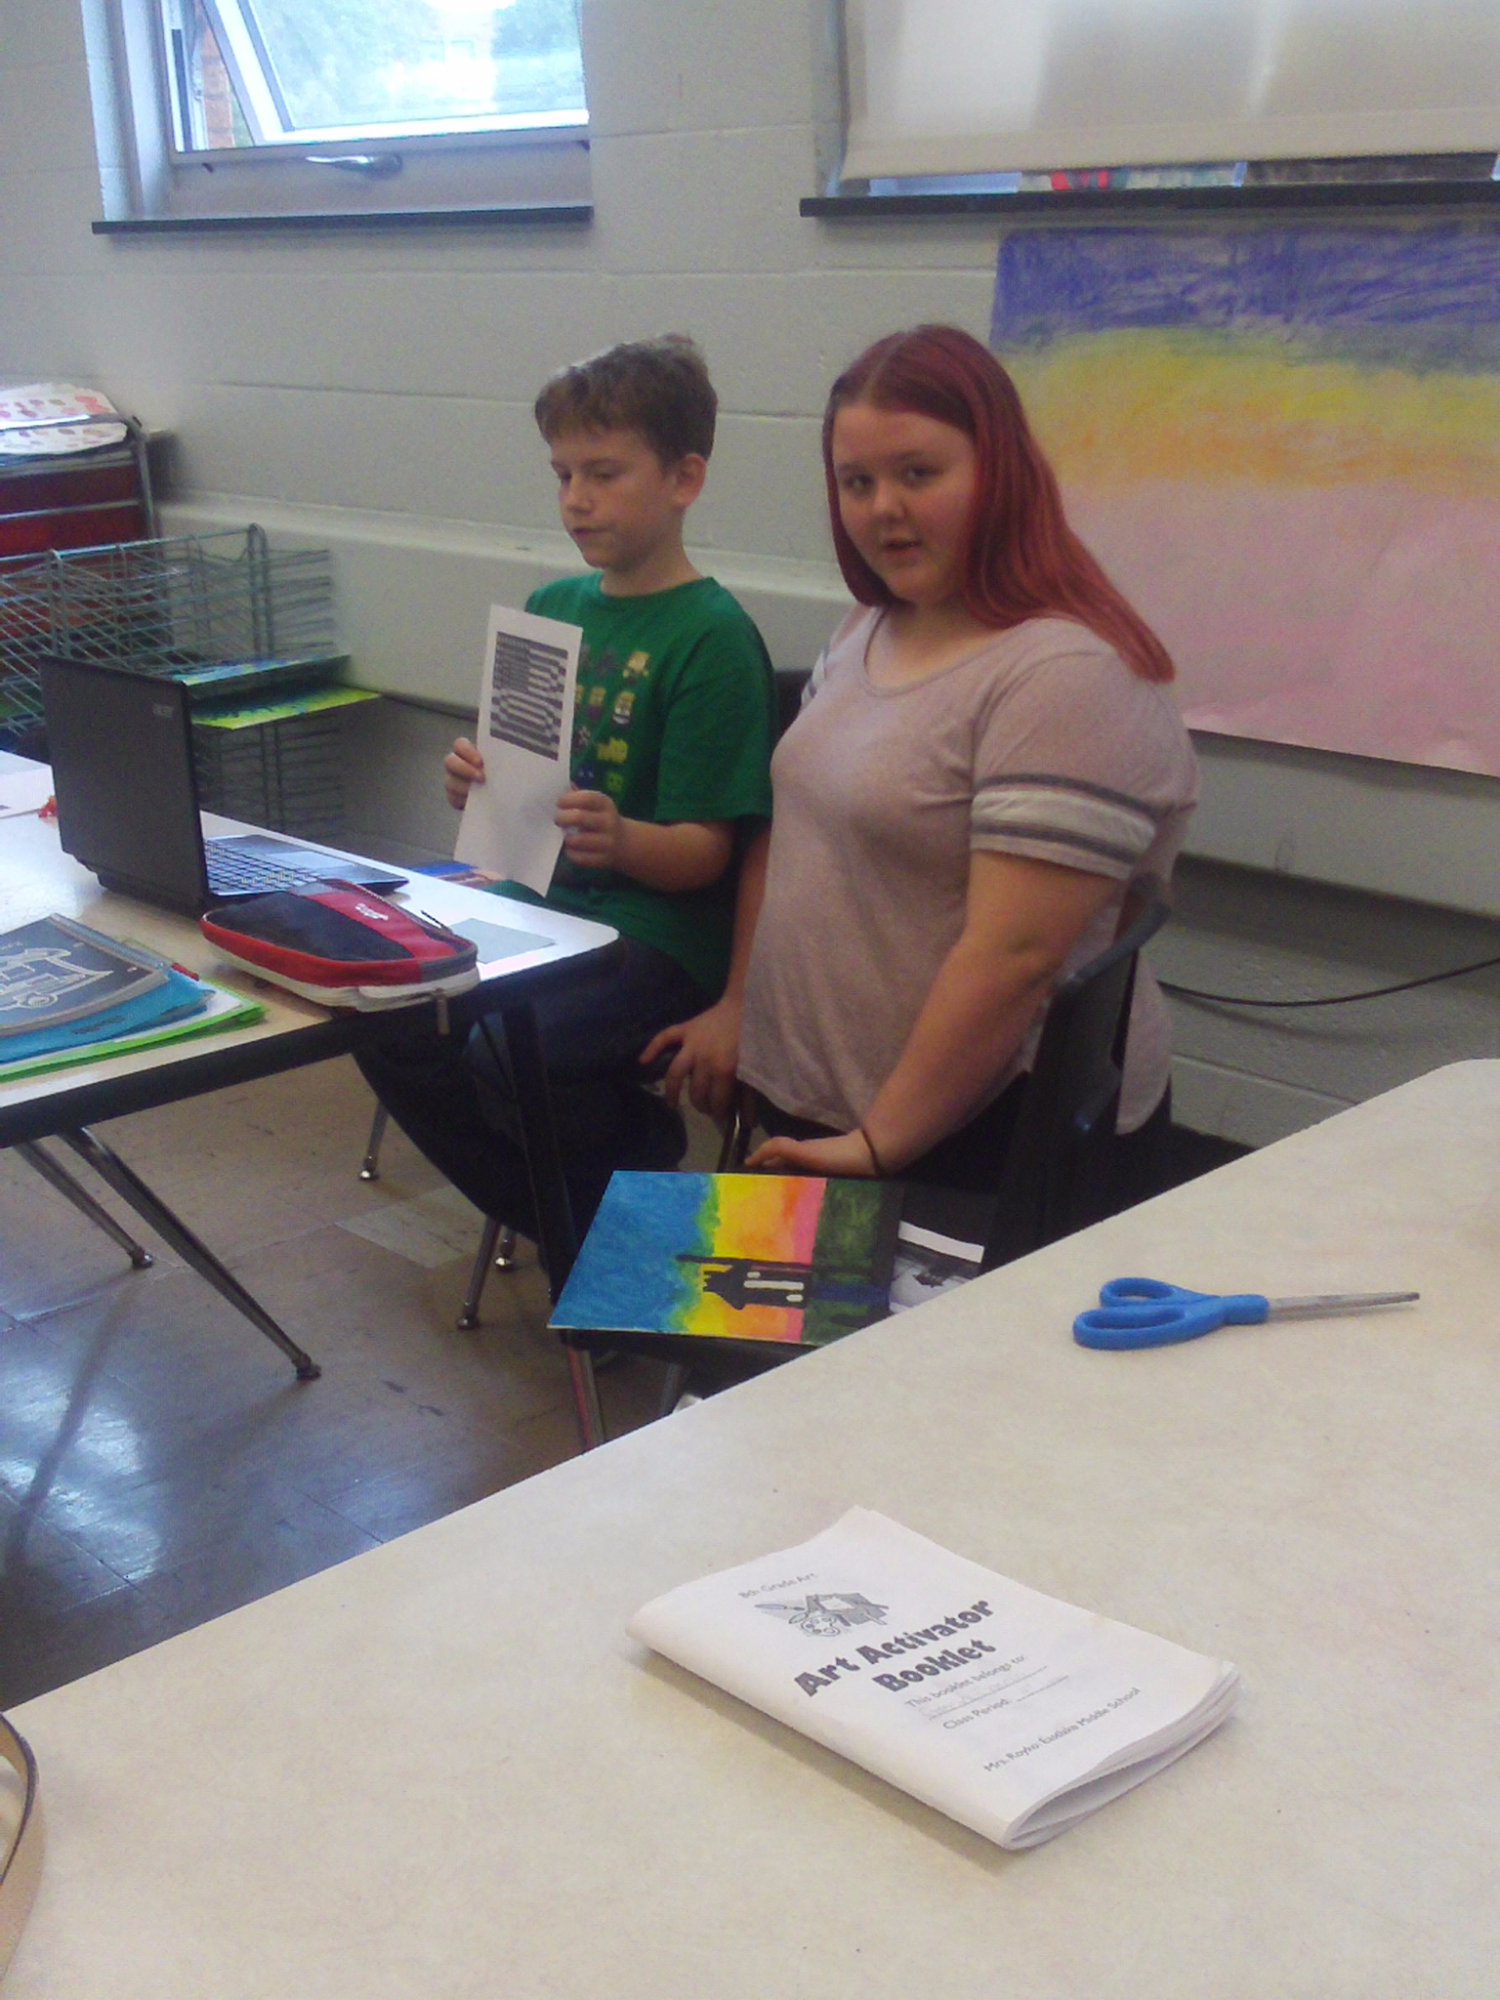
A few images of students creating
their videos can be seen below.
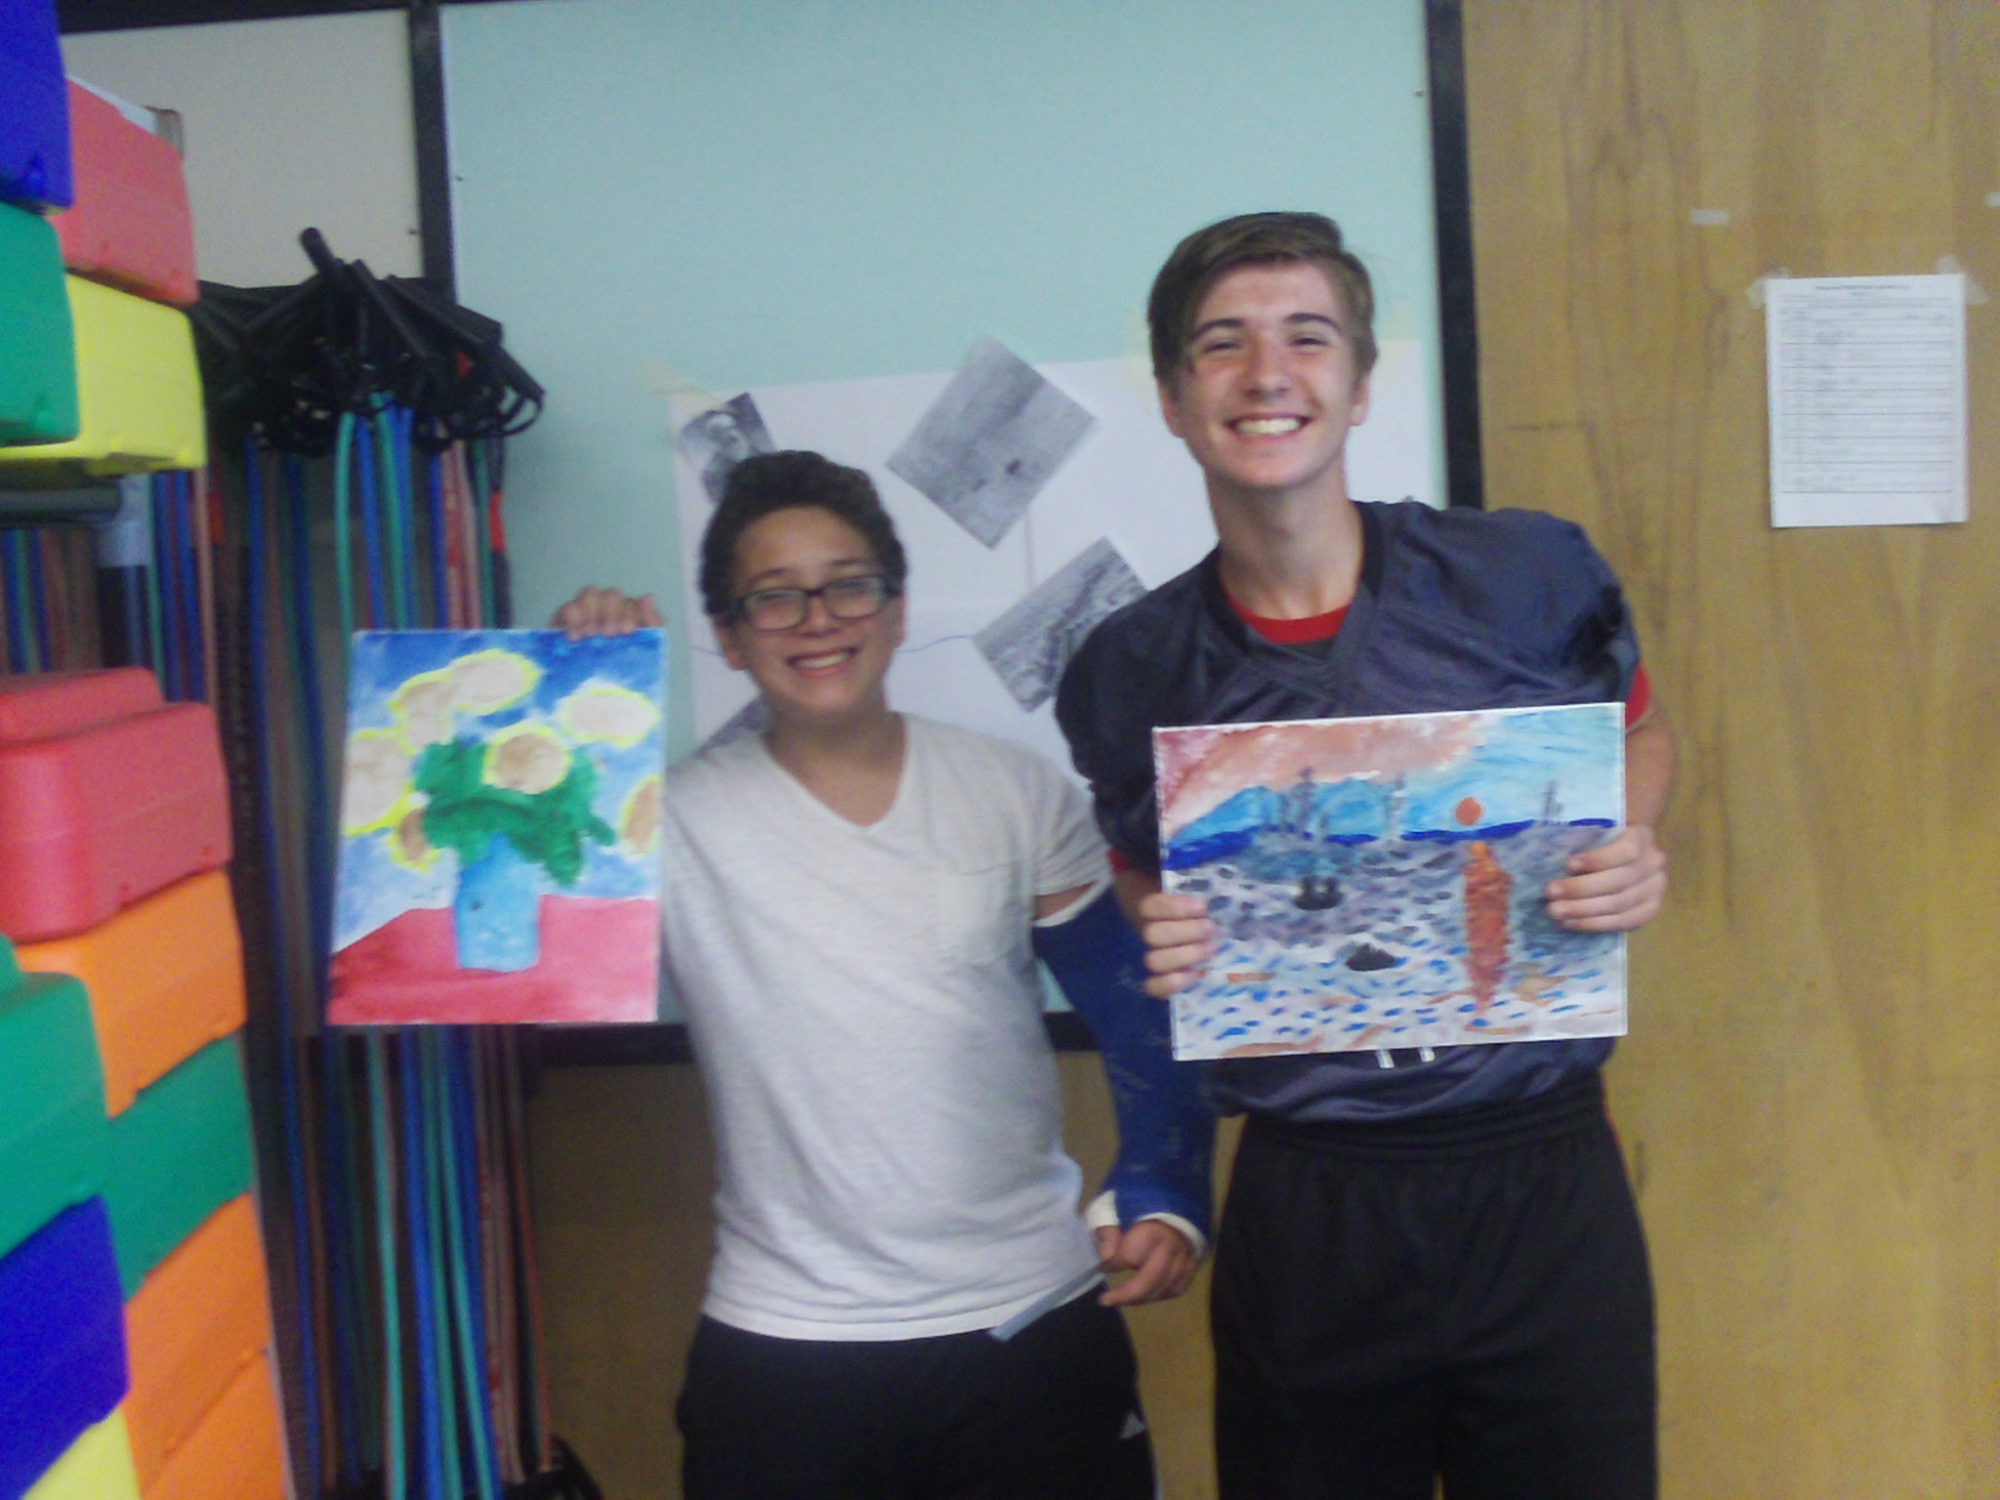
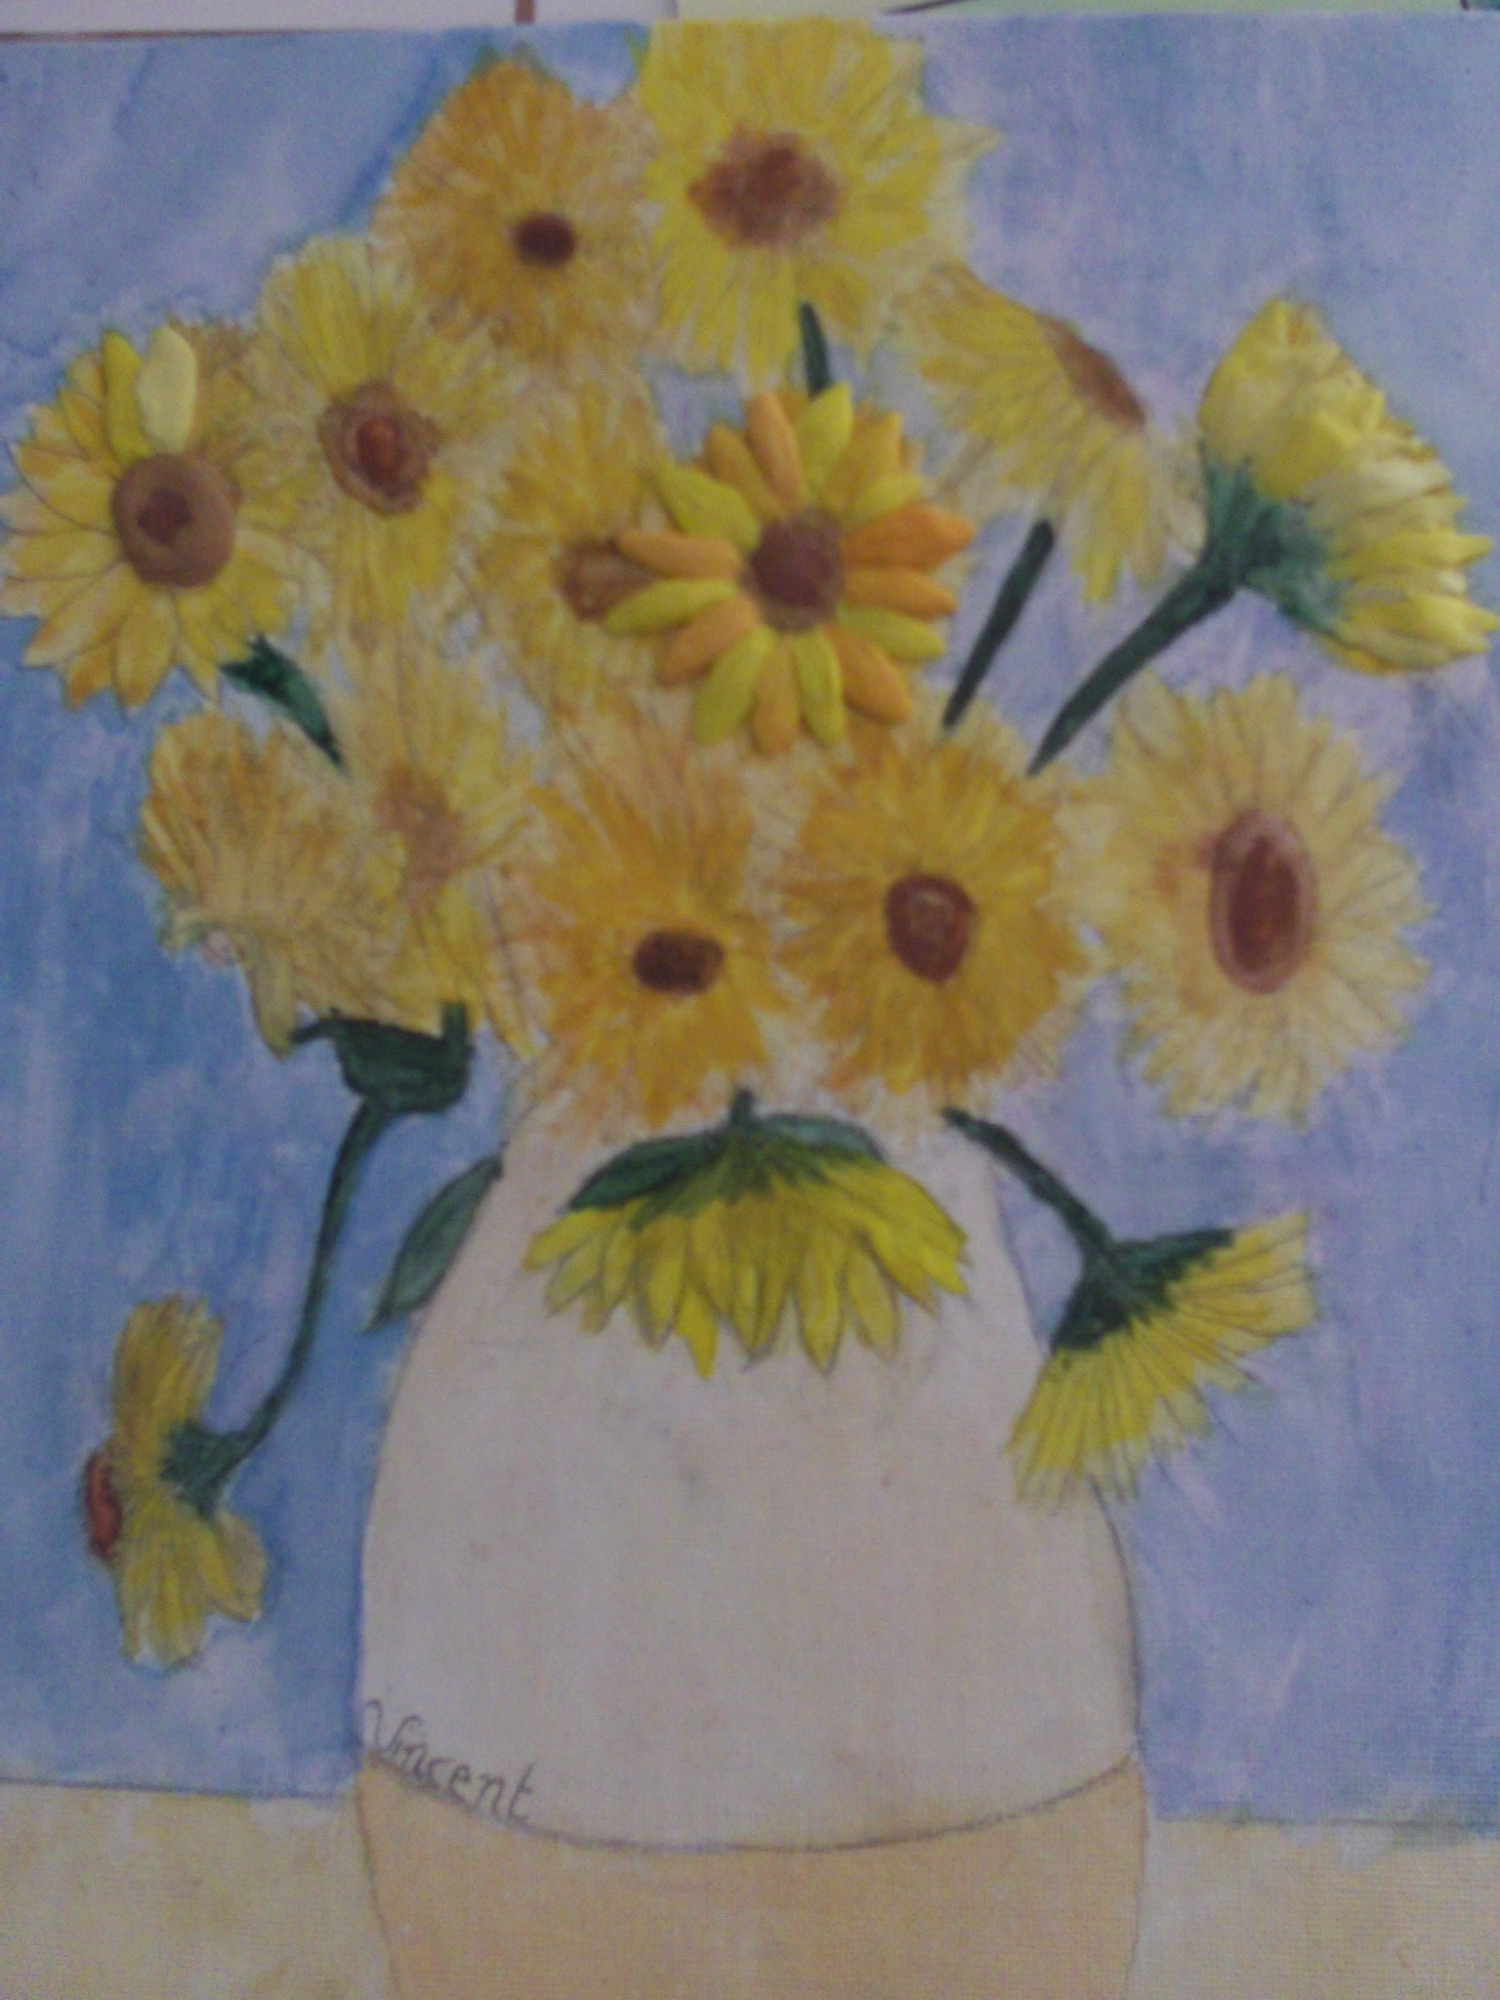
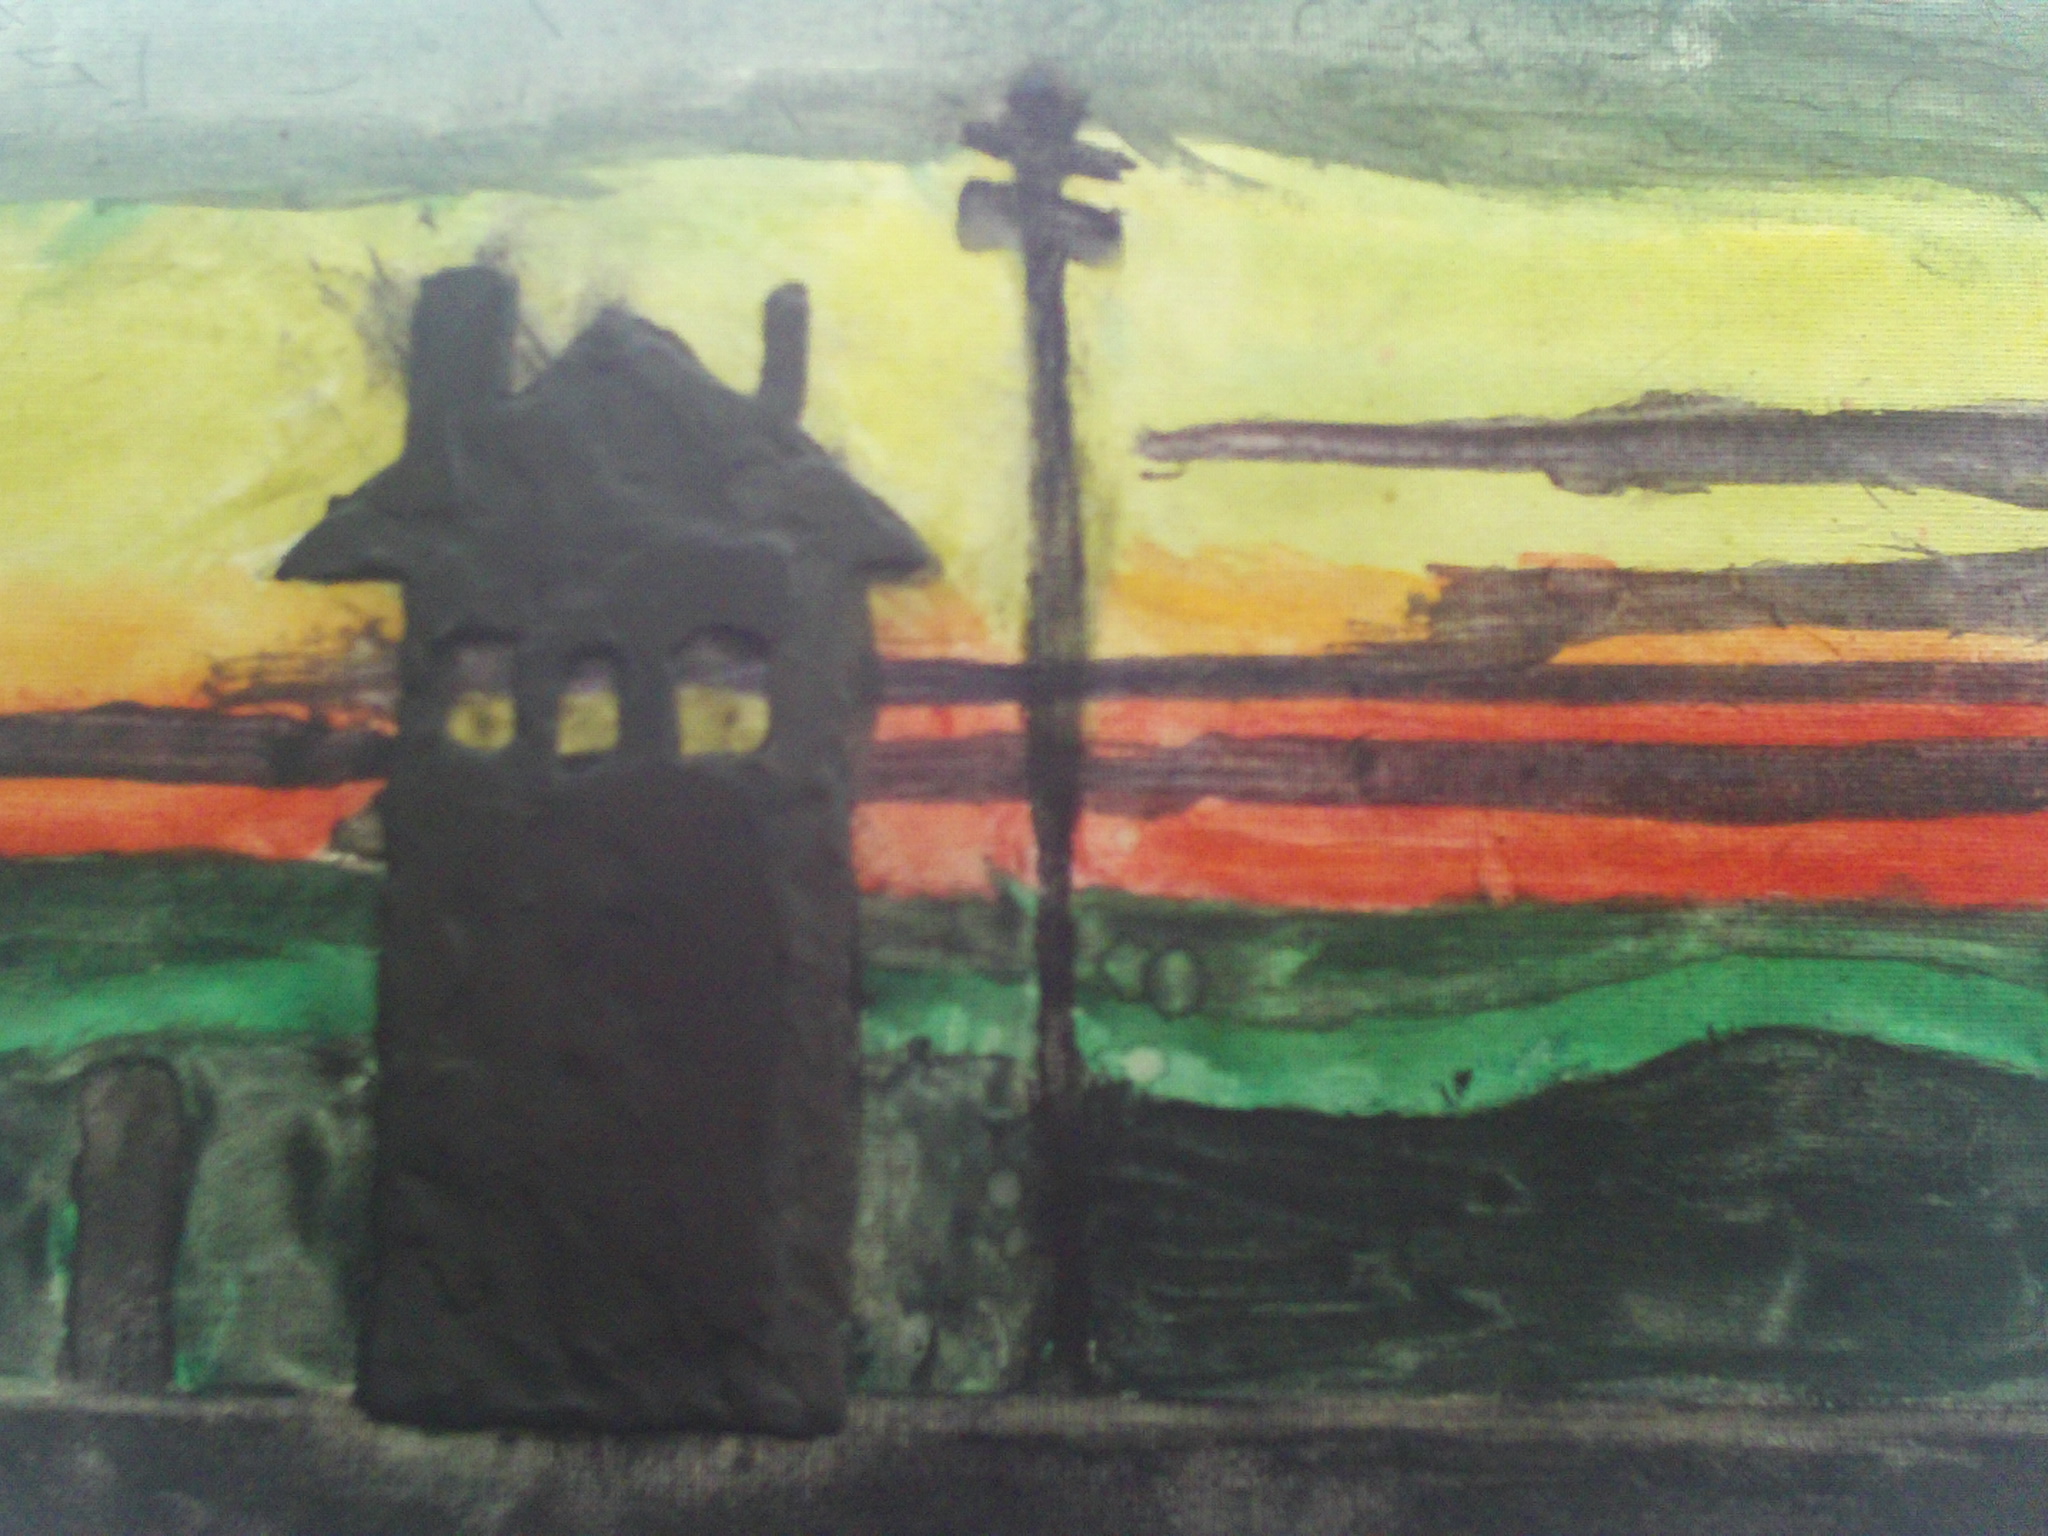
The students have completed their projects and videos and I am once again, so impressed by their hard work and talents. The images of their artwork have been posted to artsonia for you to view and are currently being displayed
within the lobby showcase and within the library. (A few sample images are below)
We will be sharing our videos with the class this week
to help educate our classmates on the artists we have researched.
Student self portrait photos are due to be shared or emailed with me by this Saturday, 10/14 so that I have time Sunday to prepare the files with a grid and get them printed before class on Monday. We will begin drawing on Monday. The photo checklist is below and includes instructions on how to share or email it to me.
|
|
Self portrait photo checklist.pdf Size : 69.007 Kb Type : pdf |
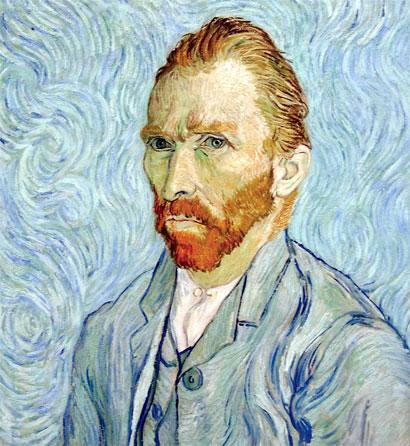
Vincent van Gogh wrote to his sister: "I am looking for a deeper likeness than that obtained by a photographer." And later to his brother: "People say, and I am willing to believe it, that it is hard to know yourself. But it is not easy to paint yourself, either. The portraits painted by Rembrandt are more than a view of nature, they are more like a revelation".
NOW!Self Portraits: An Artist's "Selfie"
What is a Portrait?
A portrait is a painting, photograph, sculpture, or other artistic representation of a person, in which the face and its expression is predominant.
Self Portraits have been done for centuries. With most Masters having created at least one. It is thought that Vincent Van Gogh created over 30 self portraits!
For our Self-Portrait project students will first be introduced to the history of self portraits by evaluating Self Portraits created by famous artists. They will be asked to become "art detectives" to decipher what the intent of the image is and who the artist was that created it.
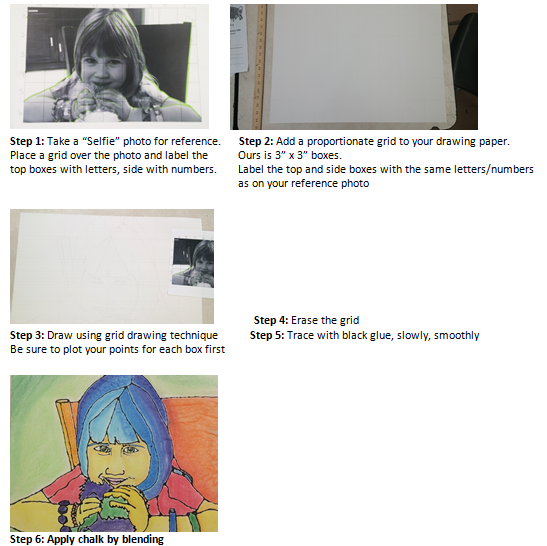
Once students understand the concept of self-portraits they will be introduced to the grid drawing technique. This technique relates to math in that you use a grid to plot the main points within a complex object to make sure proportion and placement are correct similar.
After students are comfortable with grid drawing, they will then create 4 sketches that show variation and creativity in options for their self-portrait. Once drawn they will select which sketch they would like to use for their final self portrait. We will then use the iPads to take a photo to work from. The photos will then be printed off to create a grid over and draw from.
See the final steps to creating our final self-portrait projects below.
*Hover over the images to read the details of the steps.
Once our project is complete students should be able to say the following:
I Can:
- discuss what a self-portrait is.
- discuss how the grid drawing technique relates to mathematics.
- create a complex drawing by using the grid drawing technique.
- discuss how self portraits have evolved through the advancement of technology.
- I can properly create a self portrait using a multi-step process that involves black glue and chalk.
- I can analyze and evaluate my artwork to make improvements.
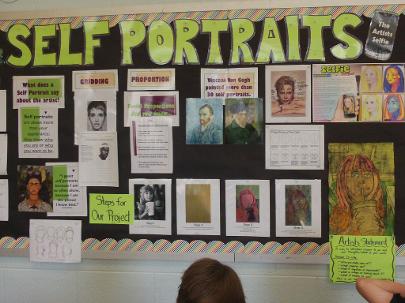
Our Bulletin Board filled
with project information and objectives.
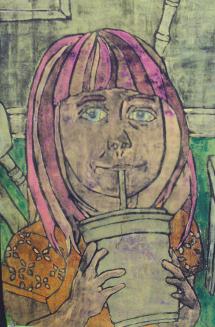
An example of what our
completed projects will look like.
Coming Up Next: 11/2
COLOR THEORY AND THE COLOR WHEEL GROUP ACTIVITY
This exercise will require the class to work together to figure out the importance of colors and how colors are created and work together. Students will be required to get up and represent the color they selected as they walked into the room. The group will place the colors (each other) in the correct groupings for the Primary, Secondary and Tertiary colors. They will then be seated around a pre-set up circle of chairs to show the placement of the colors on the color wheel. While in the color wheel grouping, we will discuss color schemes, where they can then get up and show the proper schemes.
Primary: Most important colors: R,Y,B: make all other colors, cannot be created by mixing other colors together
Secondary: O,G,V (not purple, Roy G Biv not Bip for the light spectrum) remind them color theory is based on Science and light waves. Have them tell how secondary colors are created by mixing two primary colors together.
Tertiary: 2 each for the primary colors: Y-G, Y-O, R-O, R-V, B-G, B-V. Must list primary color name first. Created by mixing a primary with a secondary.
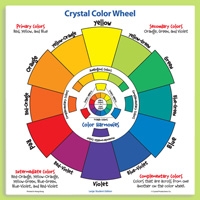
Color Wheel (12 seats in a circle)
Yellow is the lightest color in value so it “floats” to the top. Once you know
how to place the primary colors, the rest should be easy is you know how colors
are mixed/created. Blue to the right, red to the left of yellow. Secondary
colors are in the middle of each primary, then tertiary colors in between a
primary and secondary.
Neutrals: How do you create? By mixing two complementary colors. In theory center should be black, in reality it’s a neutral, brown, tan or gray. They sit in center of circle
Monochromatic: One color plus it’s tints and
shades.
example. Blue, light blue and dark blue or pink, red, dark red
Analagous: 3 colors adjacent to each other on the color wheel. (side-by-side) yellow, yellow-orange, orange or yellow, yellow-green, green
Complementary: Opposite colors on the color wheel.
Examples: Yellow and Violet, Red and Green, Blue and Orange
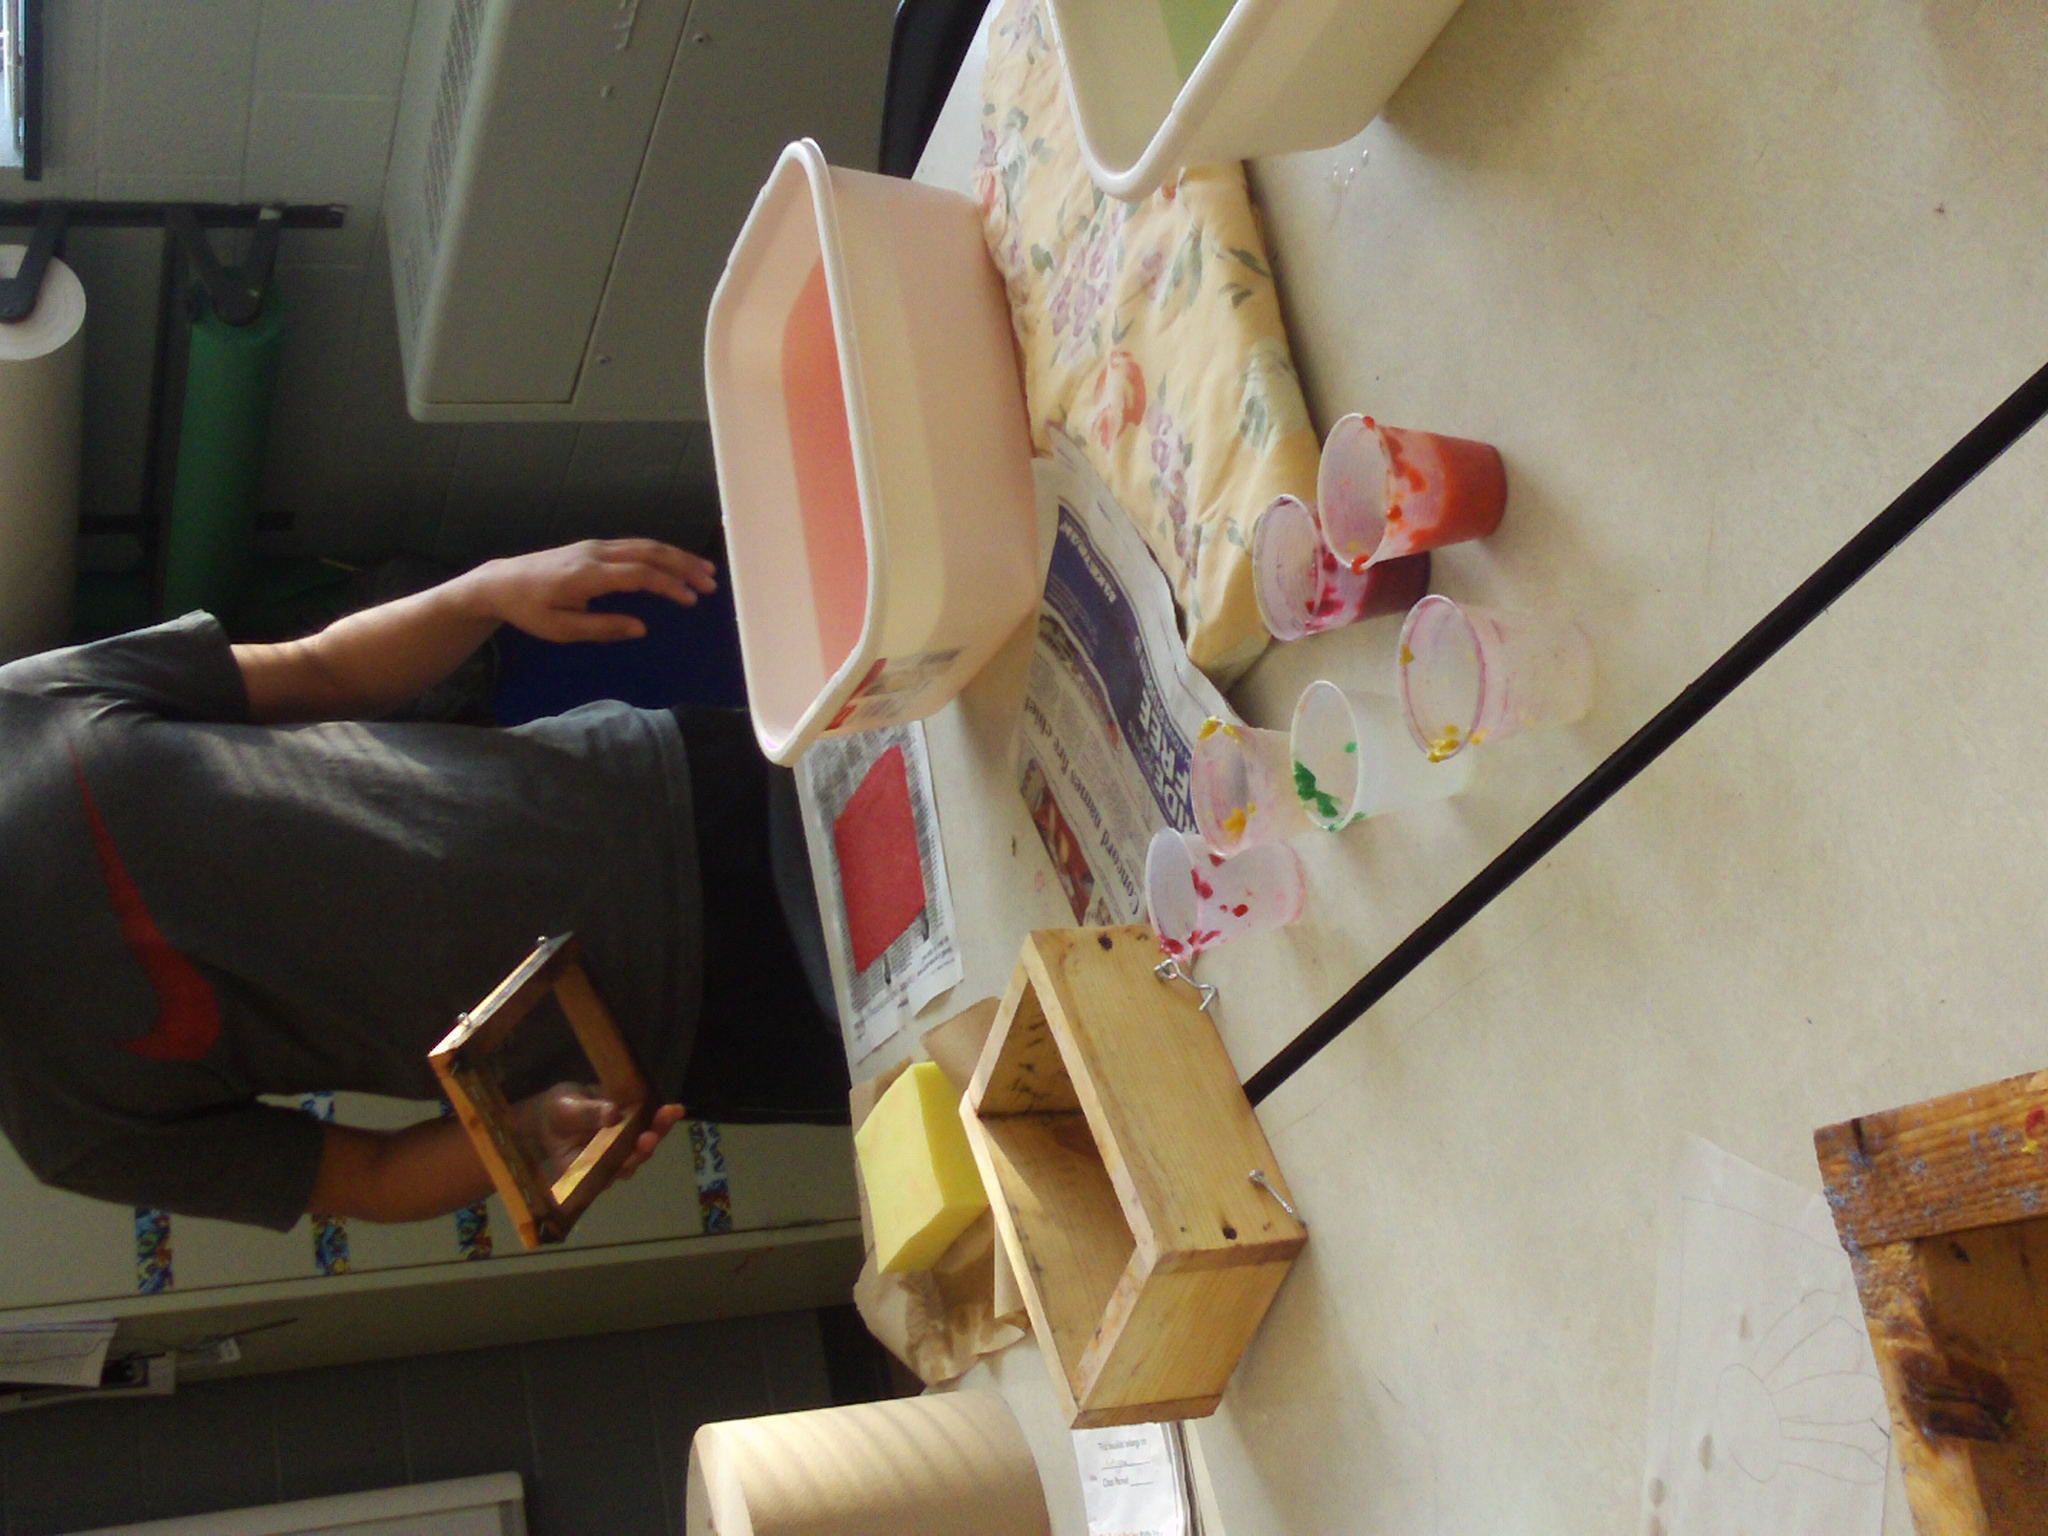
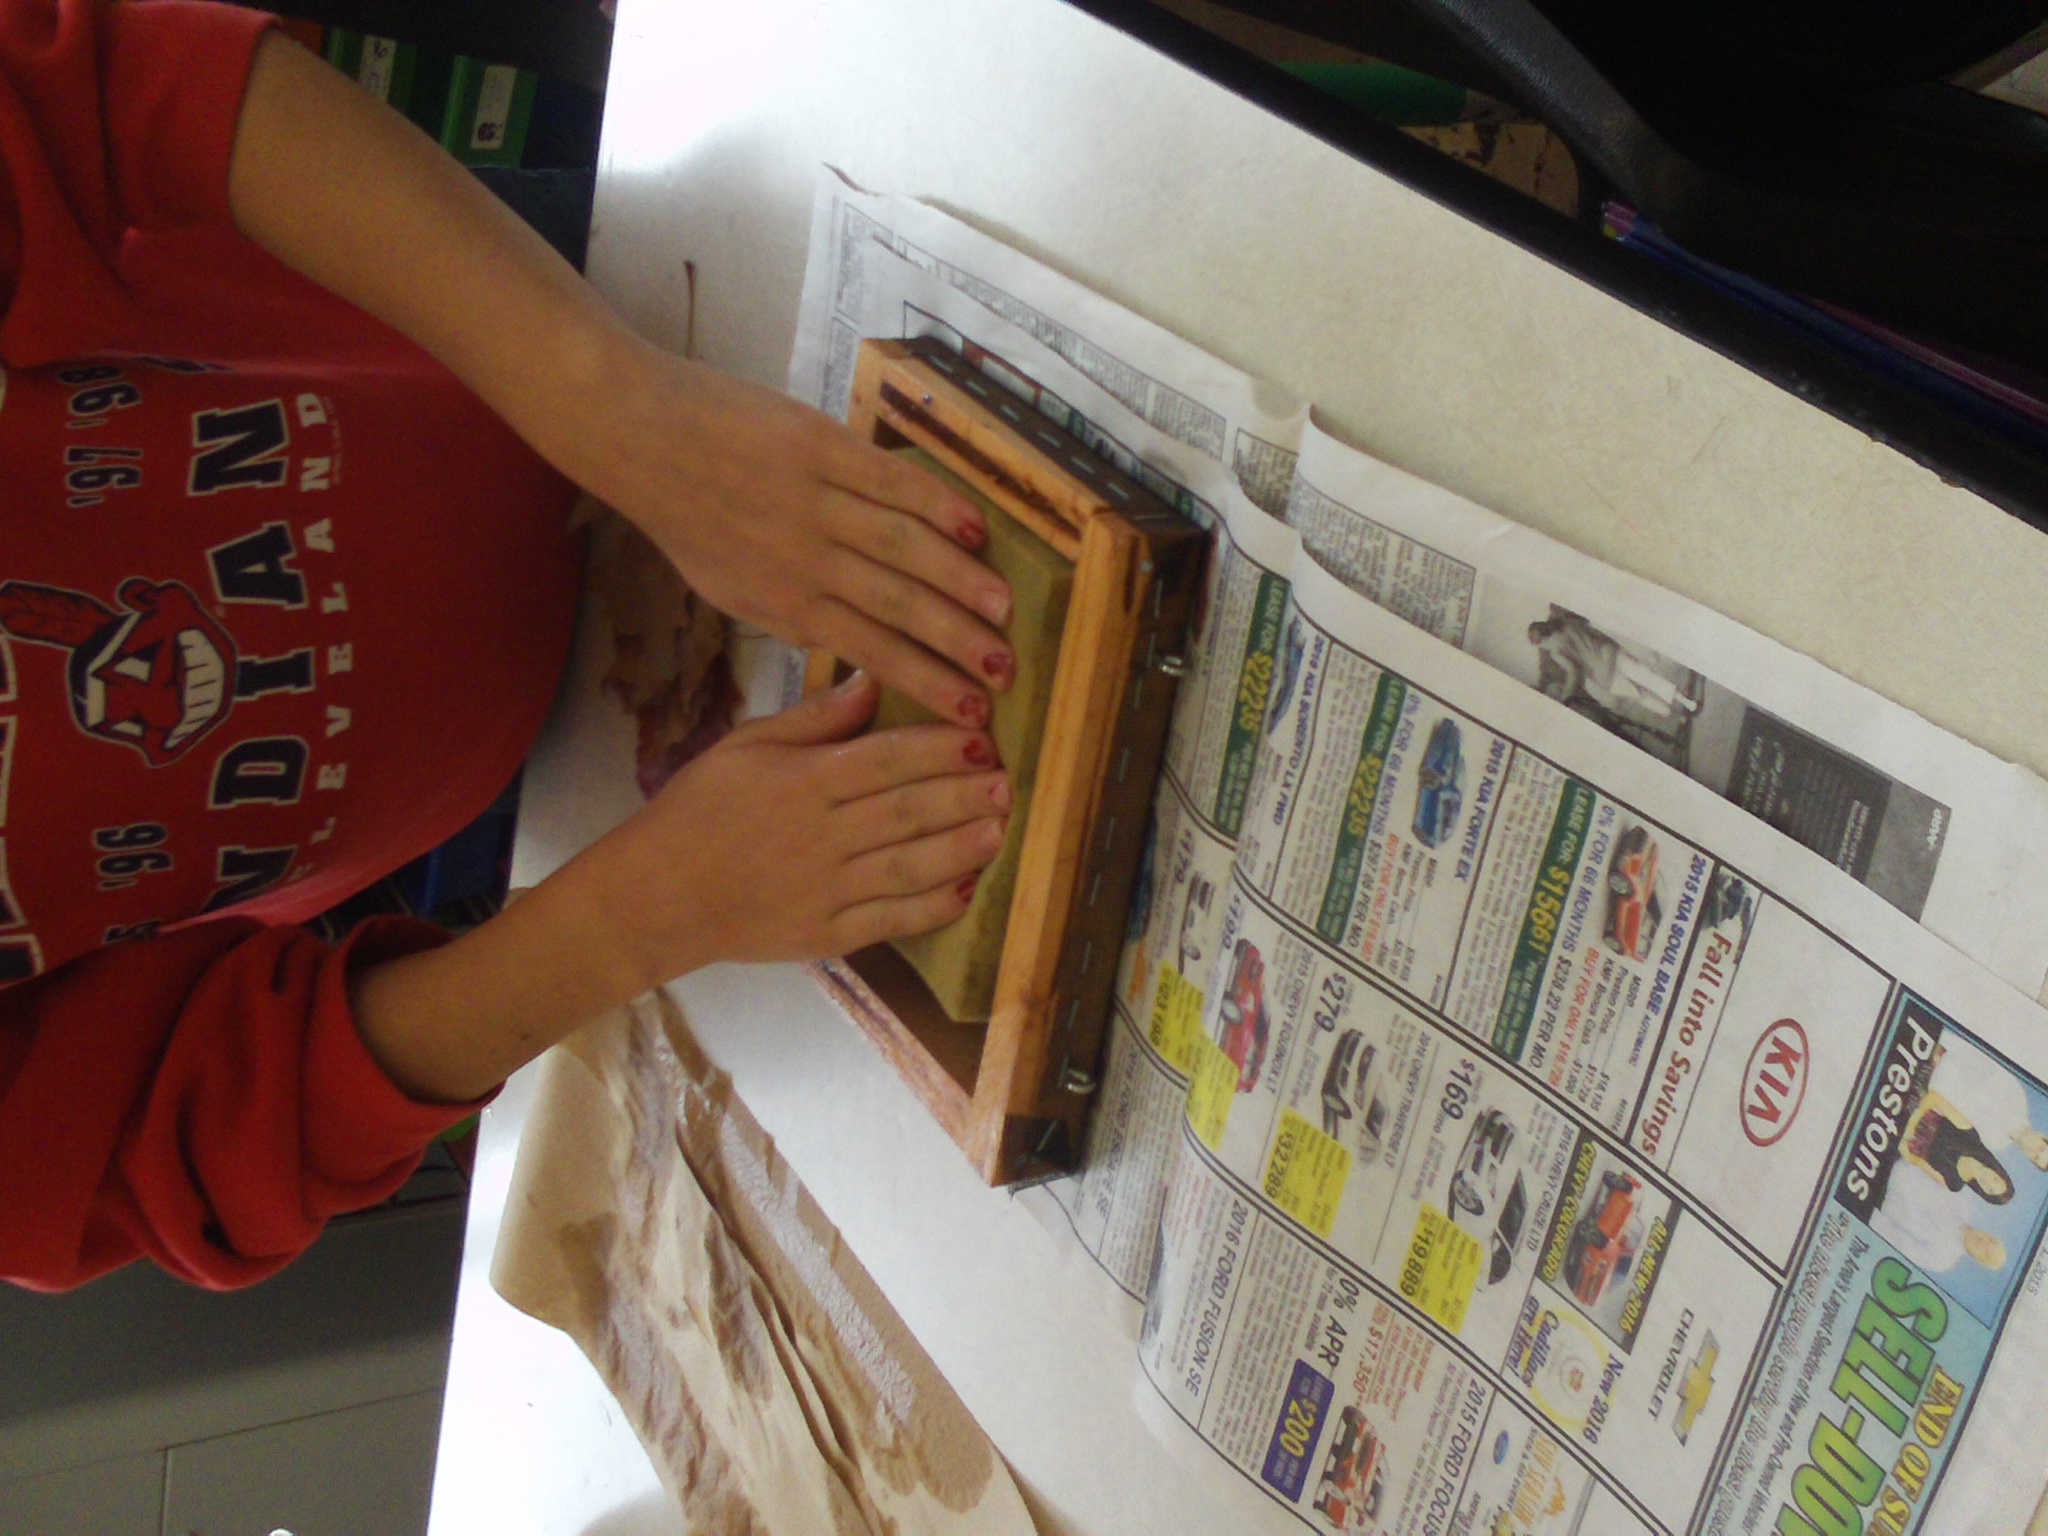
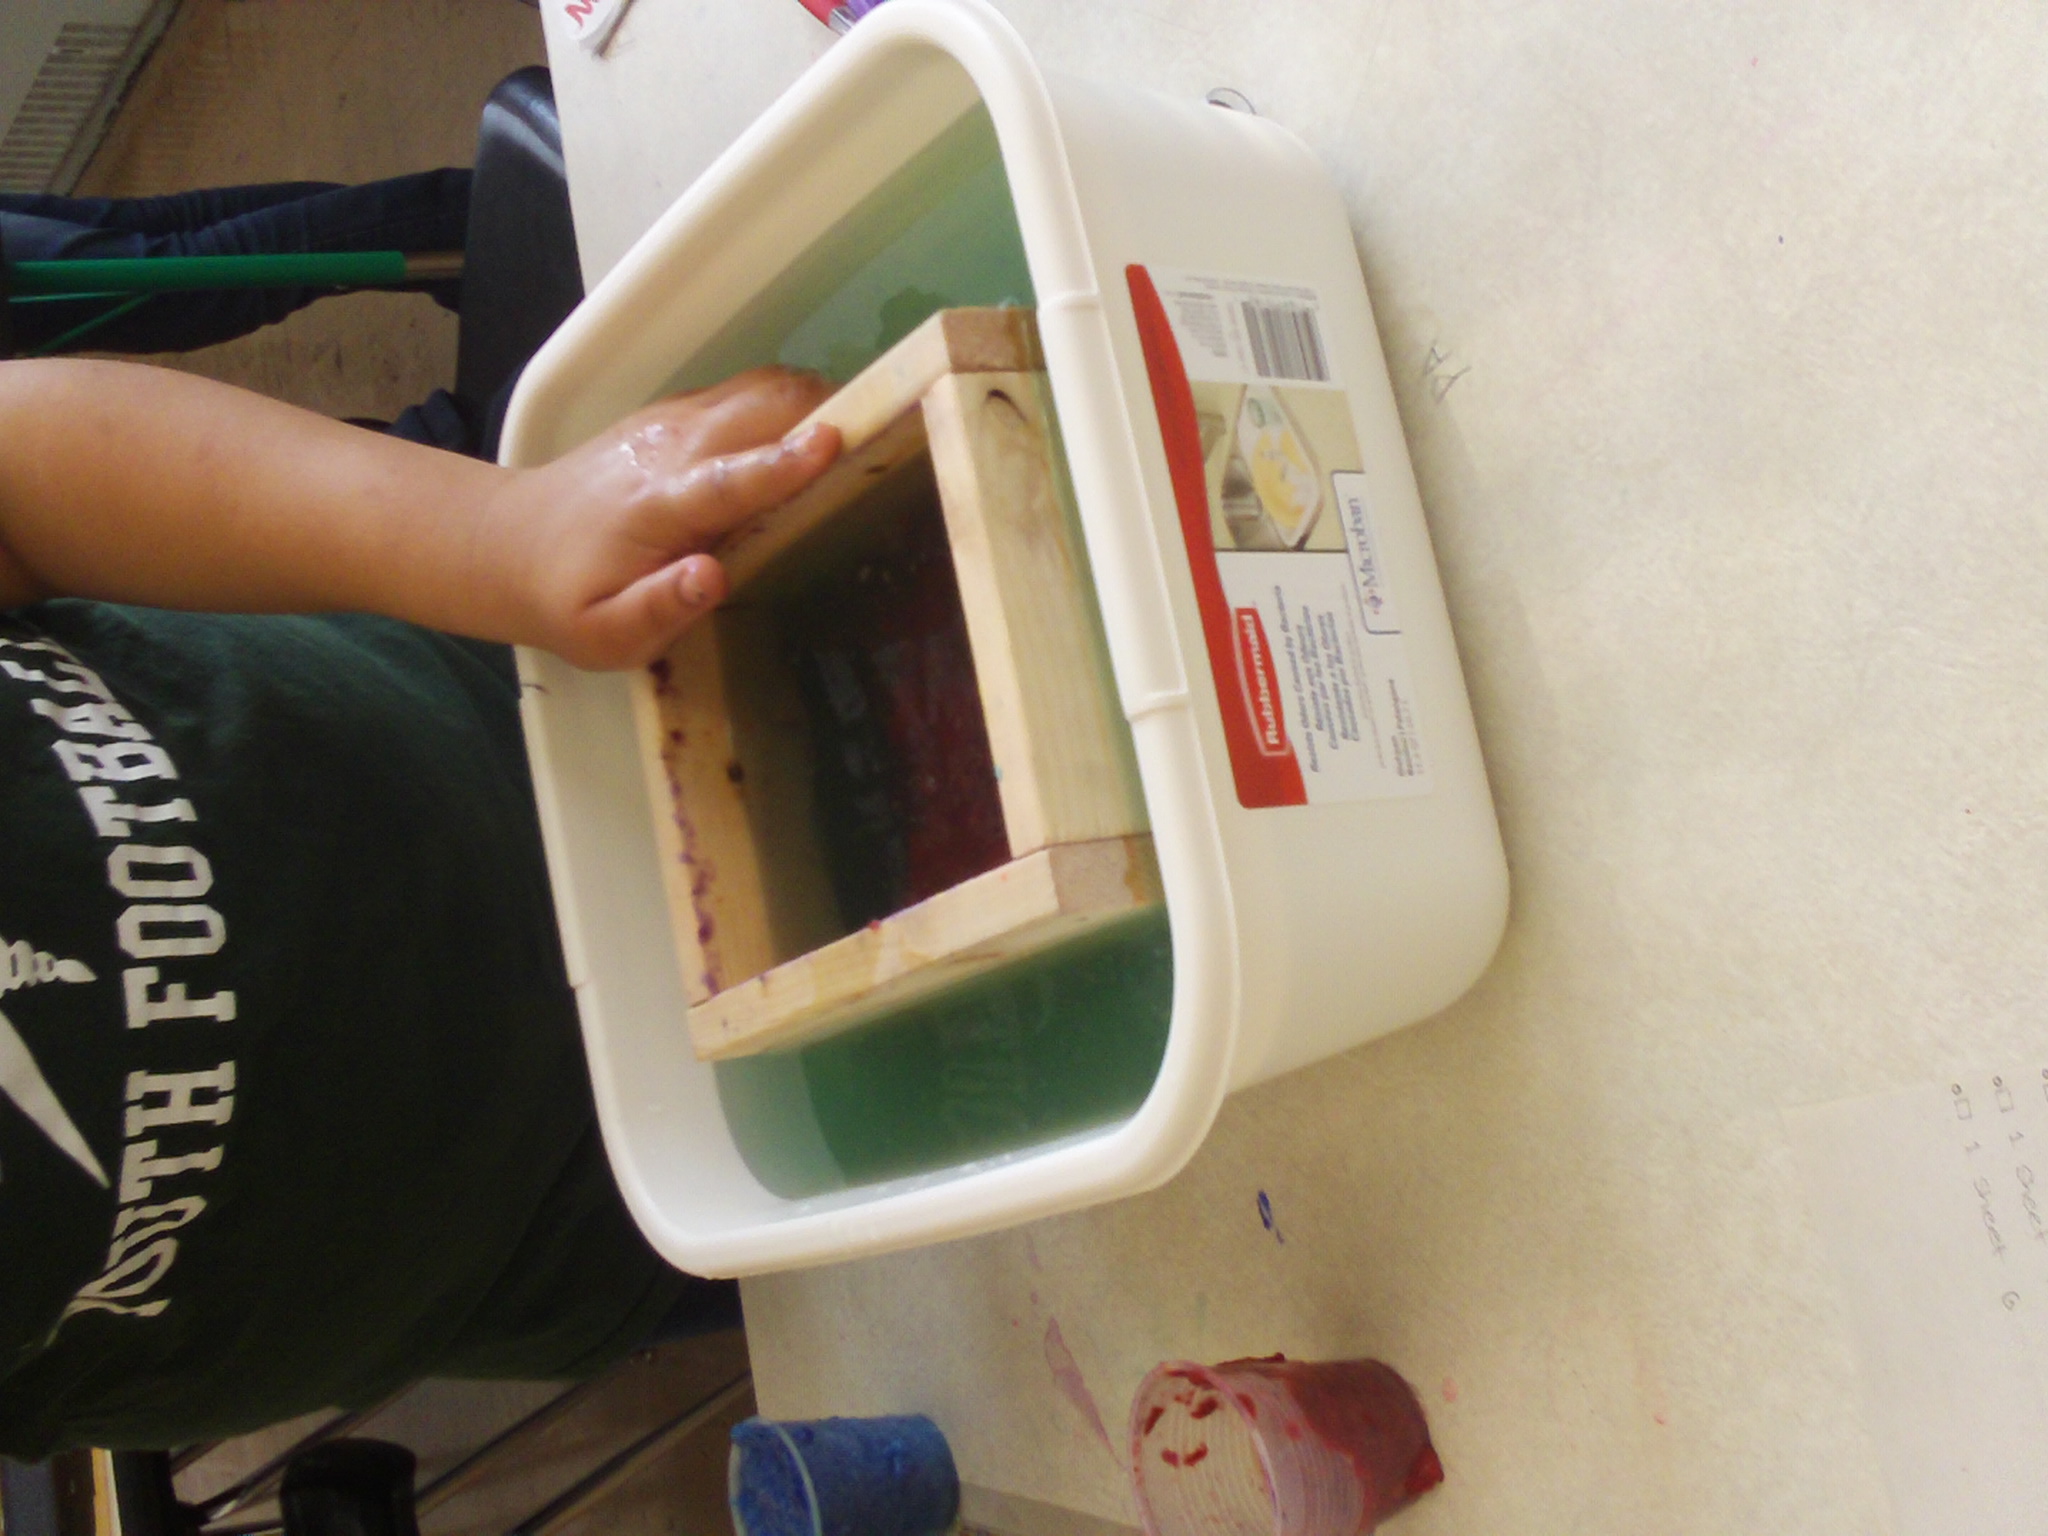
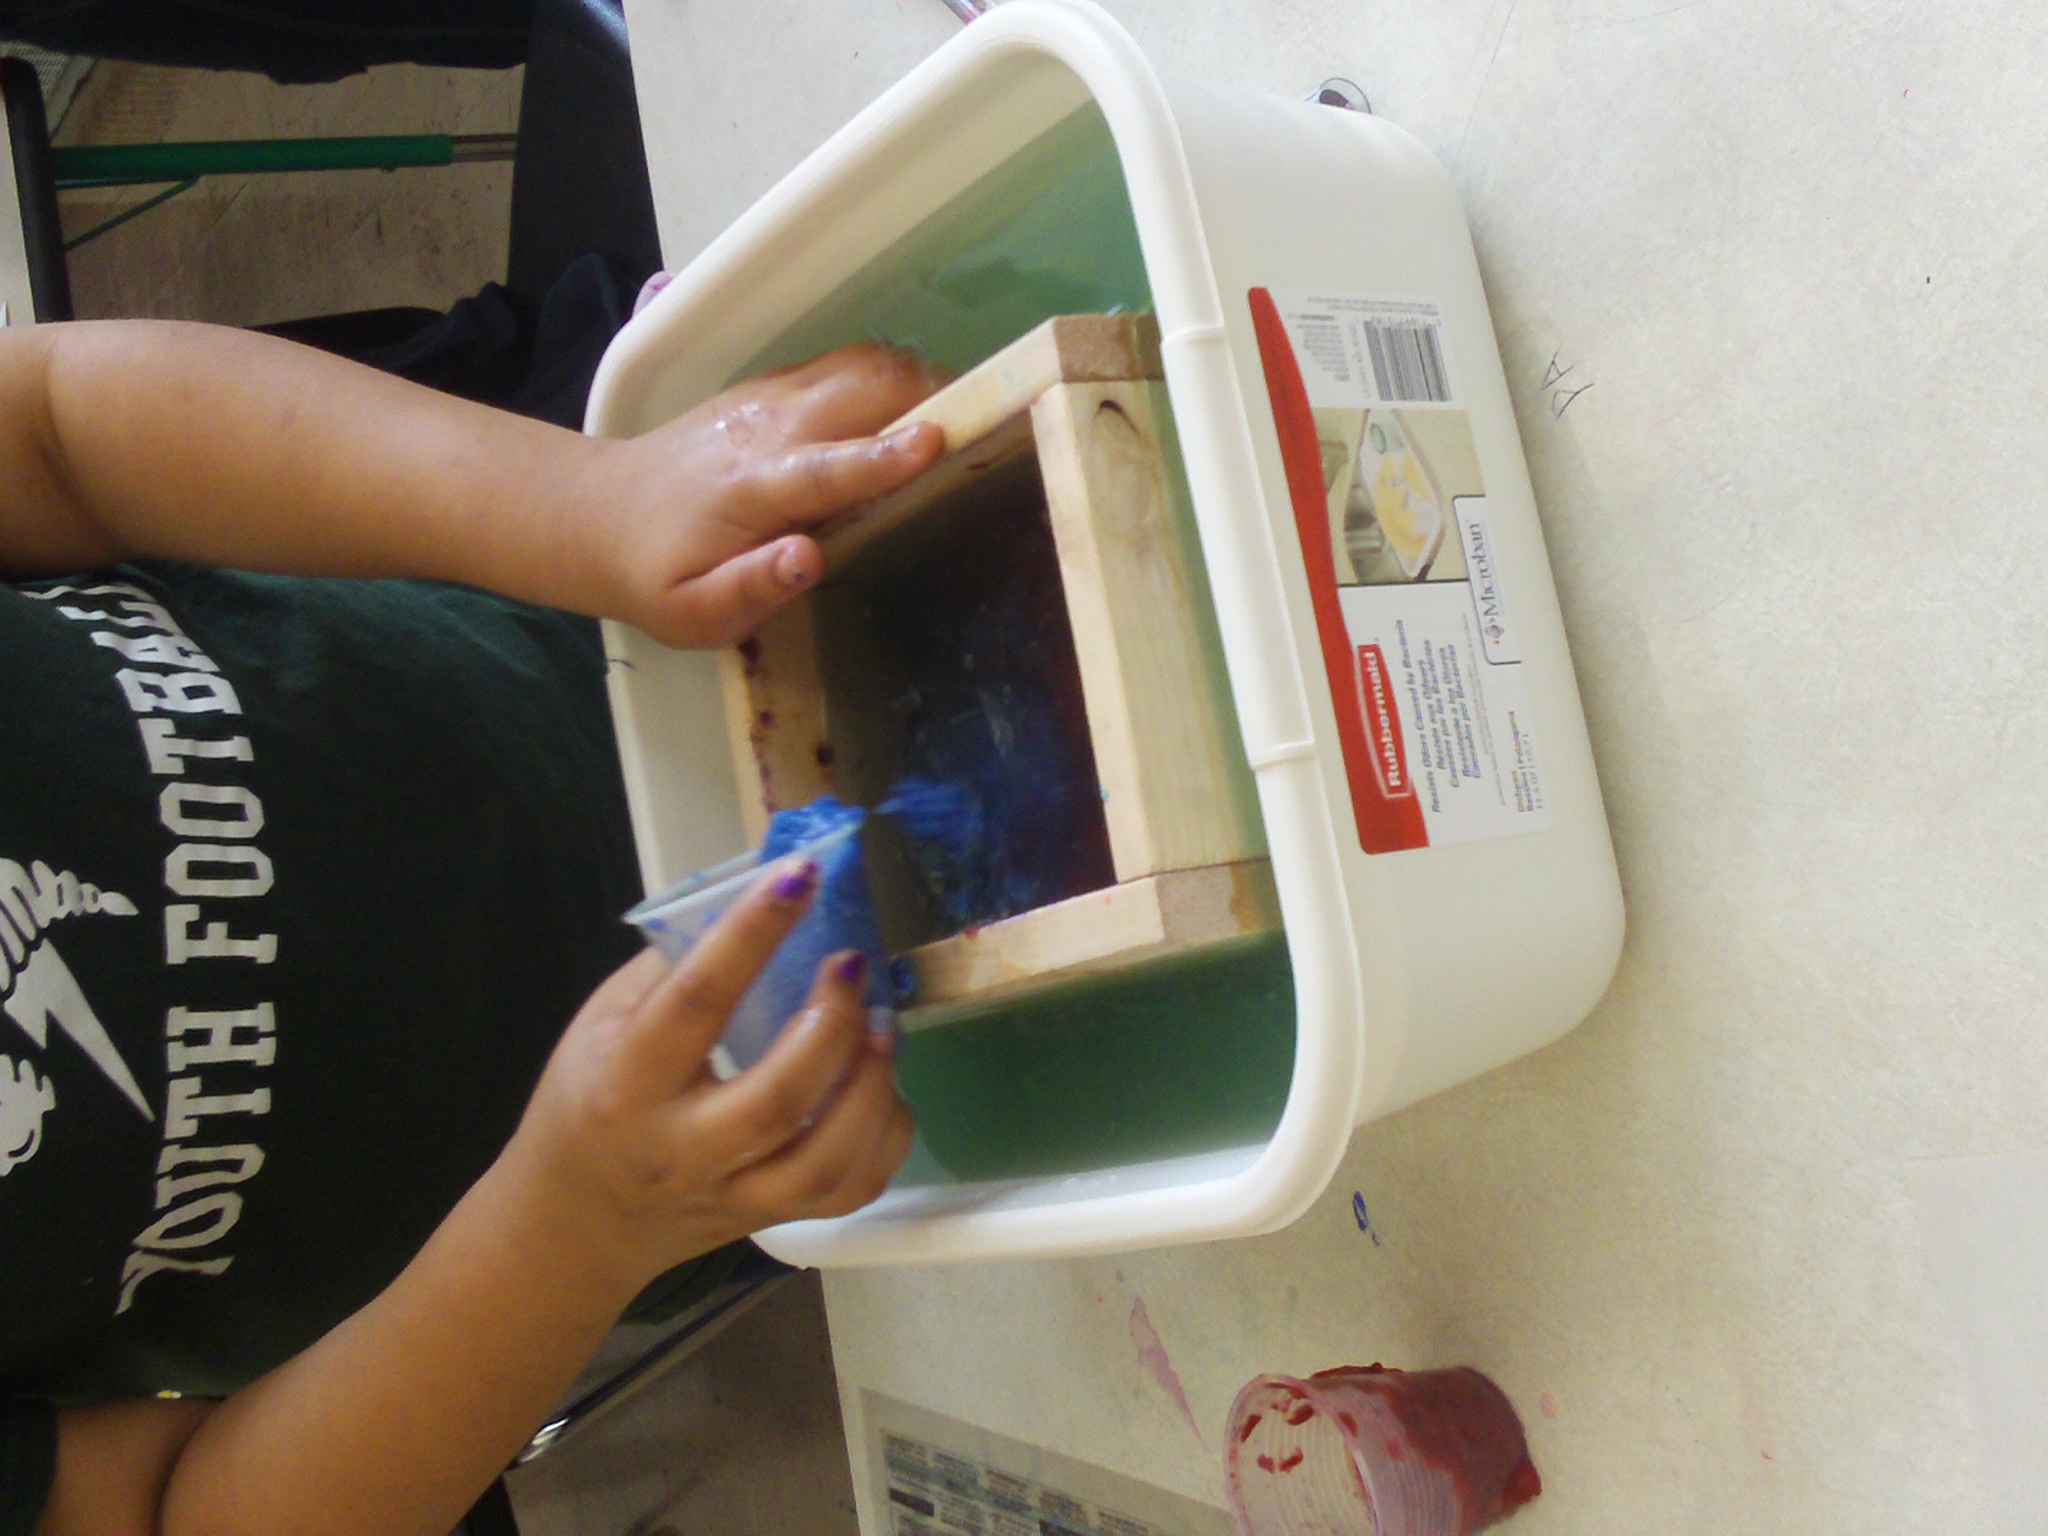
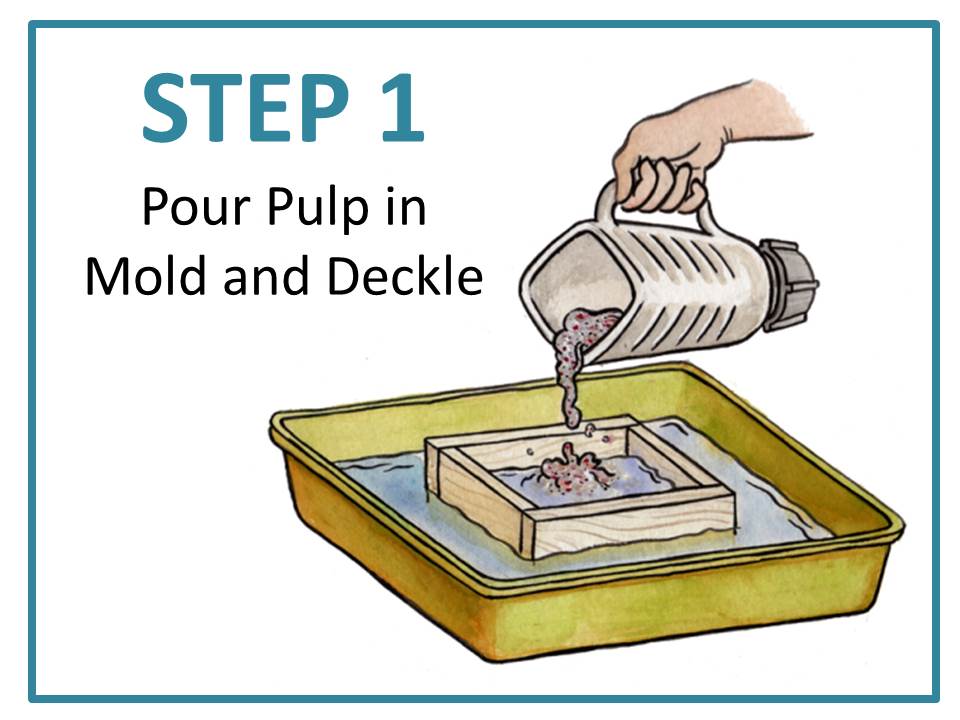
To Come: STEM: Paper Making from Paper Pulp
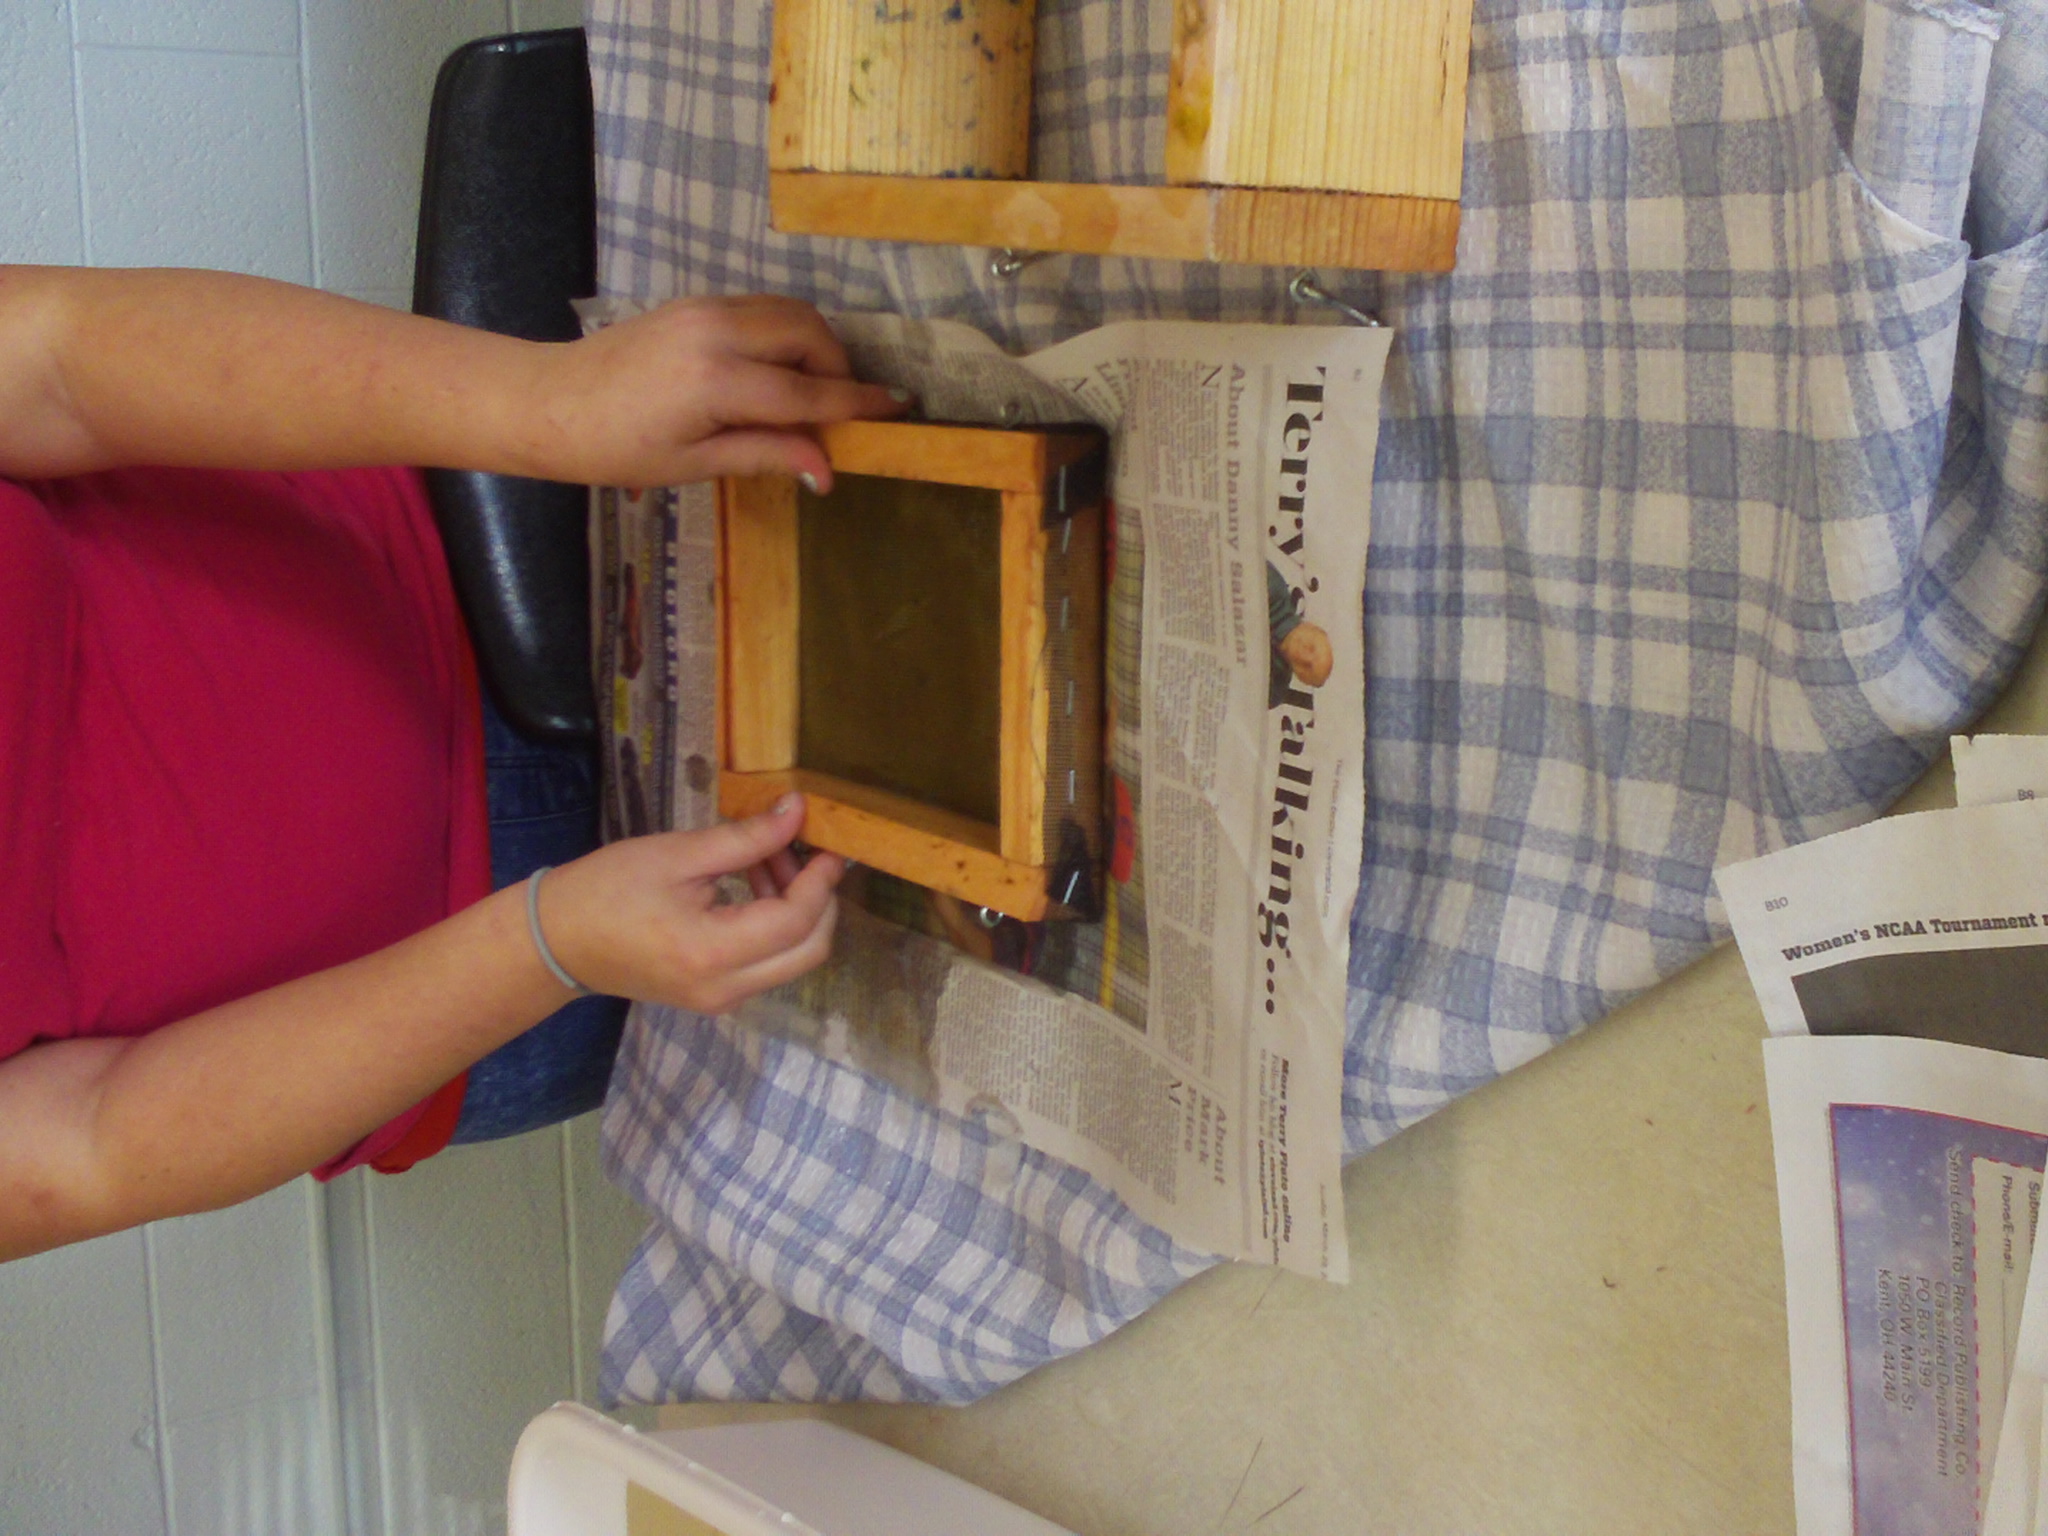
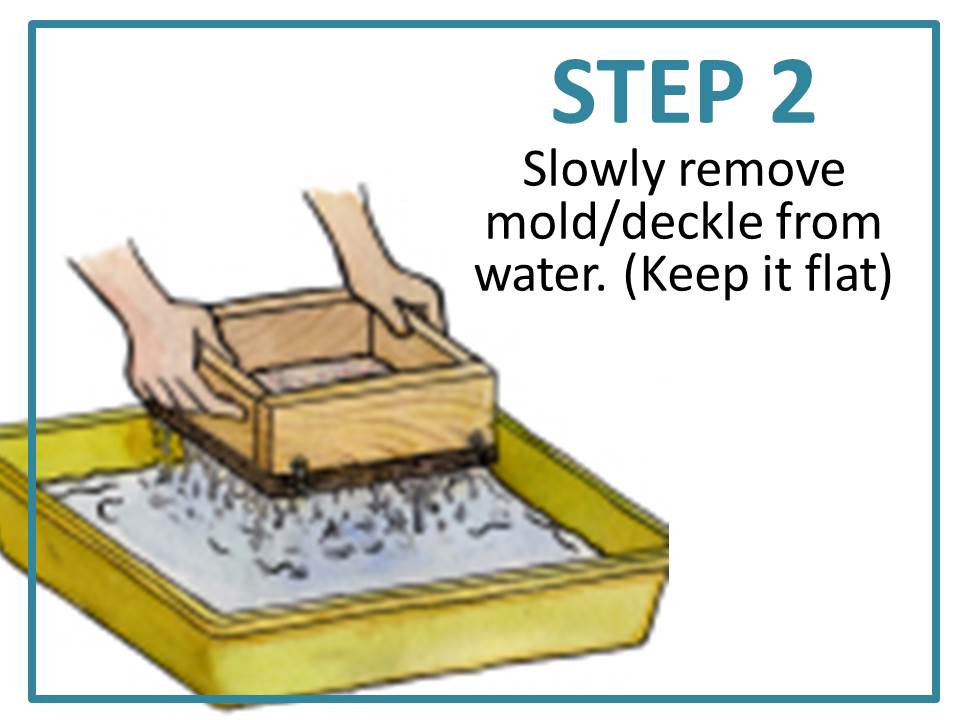
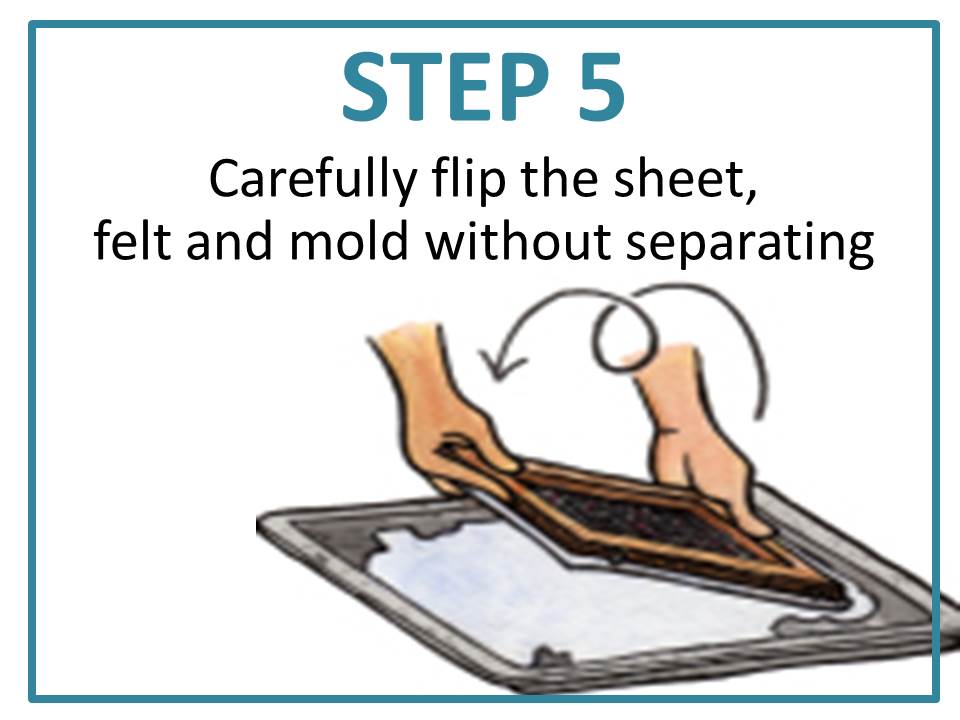
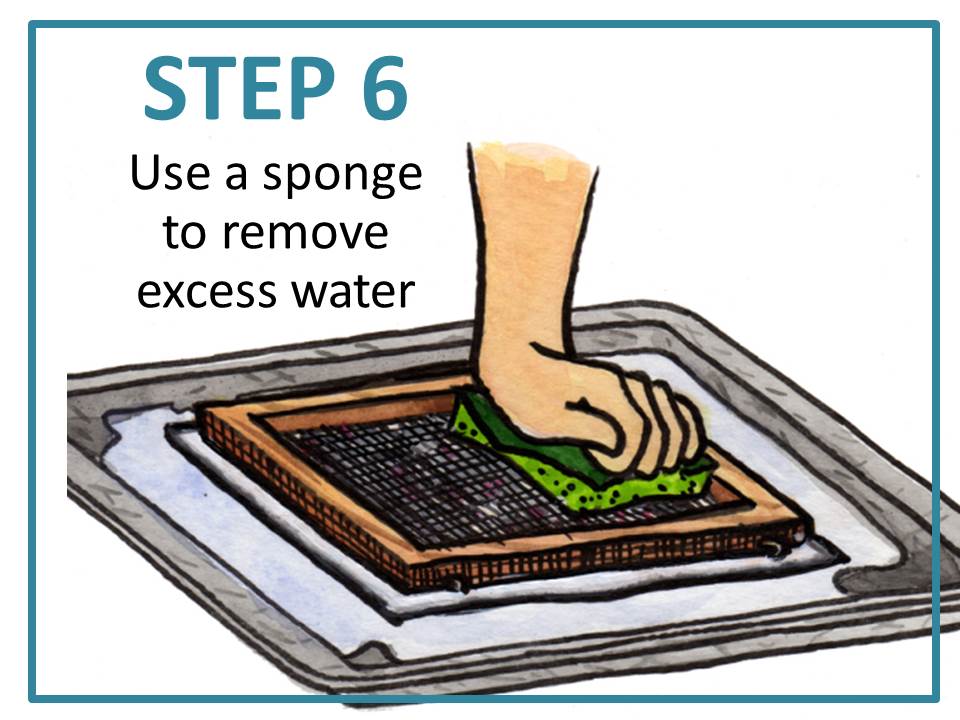
Next students are shown the process used to create the paper using the mold and deckle, a basin of water and a sponge. We also discuss the process of how the paper fibers re-fuse to create the sheet of paper.
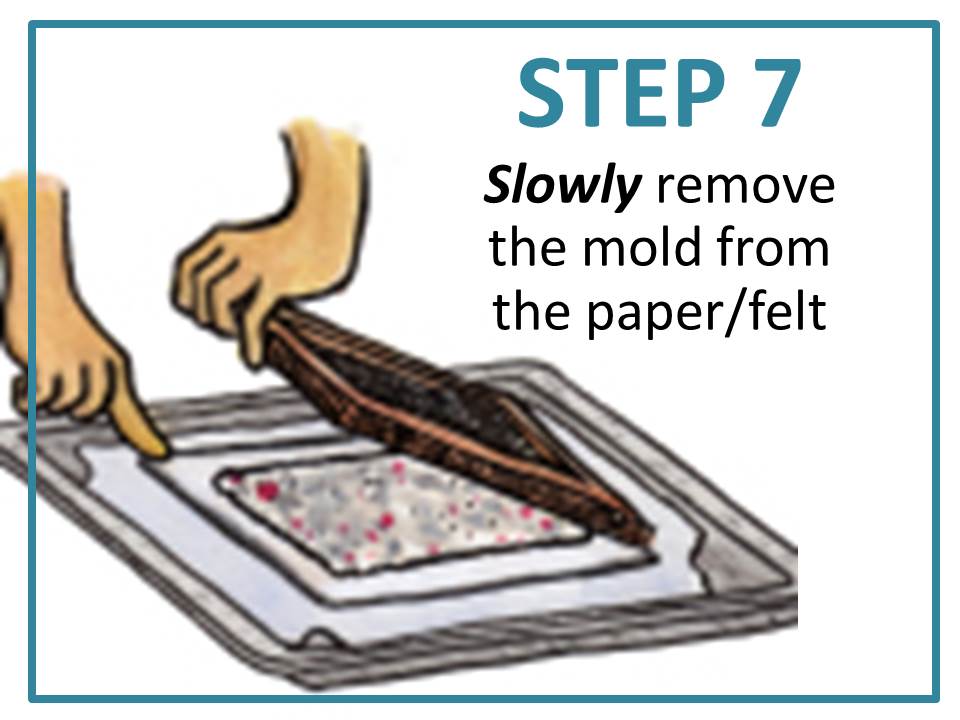
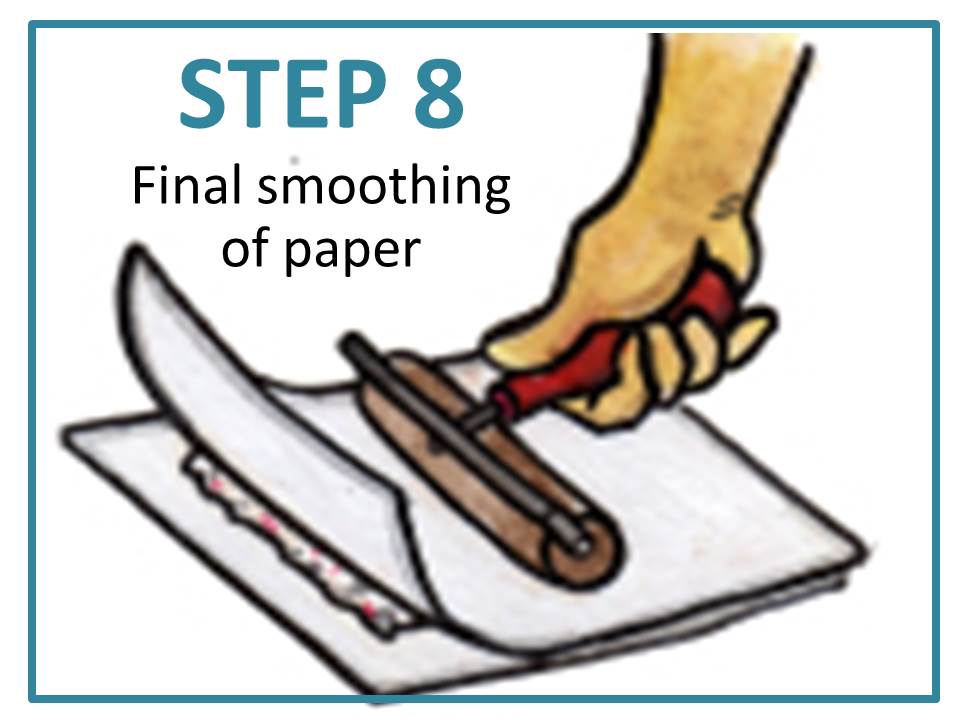
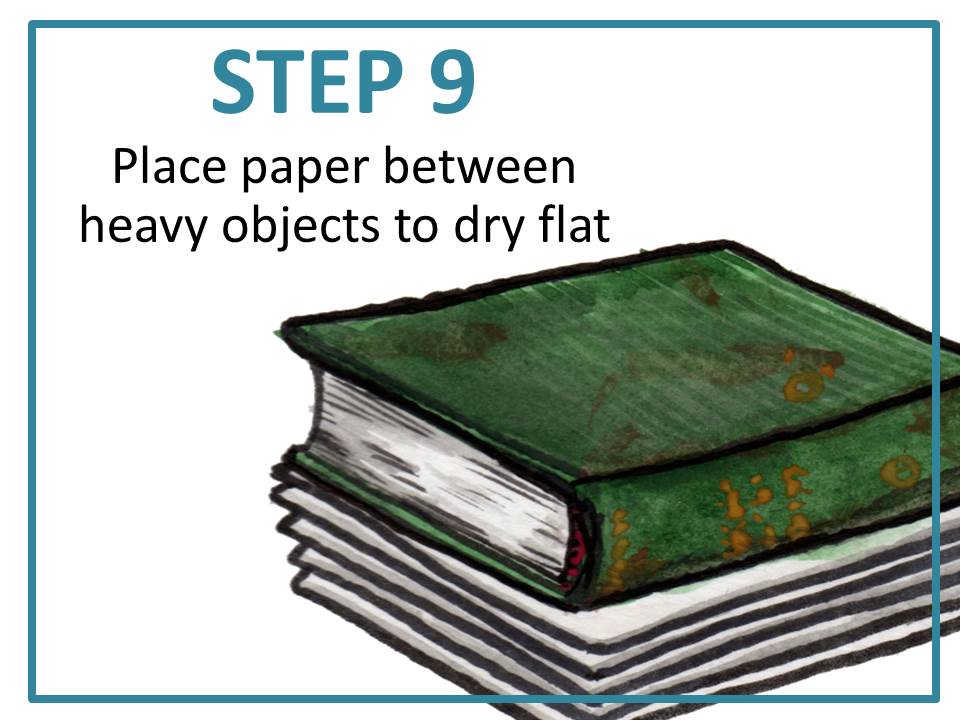
Lastly, the mold and deckle are removed and the new sheet of paper dries.
Once we have our 5-7 sheets of paper made, students will be creating a close-up of a flower that is inspired by the work of American modernist artist, Geogia O'Keefe. To keep with the beautiful textures of the hand made paper, students will be using hand tearing paper techniques to create the flowers. Check back soon to see images of the students at work.
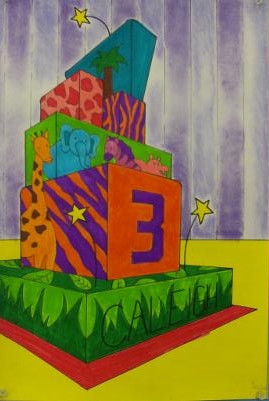
Still to come... Perspective Dream Cakes
Goal(s): Students will understand the role arts play in multiple careers. They will then be asked to become culinary artists and design their dream birthday cake using the learned 2 point perspective techniques.
Objective(s): The student will be able to …
1. Identify careers that use artistic and problem solving skills.
2. Create a realistic drawing of a tiered cake using 2-point perspective drawing techniques.
3. Apply multi-media techniques to help achieve the illusion of depth.
4. Adjust and improve their artwork as they create it.
Ohio Standards Connections:
6PE = Identify professions that use artistic and problem solving skills.
2PR = Demonstrate increased technical skill and
craftsmanship by using
more complex processes and materials to design and
create two-and three-dimensional artworks.
5RE = Identify professions that use art and design, and
explore the
relationship between art, technology and industry.
6RE = Develop and apply criteria to assess personal works for
content
and craftsmanship